
How to create a travel website with a domain of your own

I created The Travelling Squid as a repository of travel tips with posts I could easily share with people. This was because after some time, I couldn’t quite remember the names of places which I really liked, and the locations of great restaurants and bars. Creating a domain of my own was important because I wanted to be independent. It wasn’t easy process for me (at the start and due to several downtimes). That said, you could try using HostGator*. From the instructions below, it seems to be pretty straightforward. Here are some tips on how to create a travel website with a domain of your own
*Before we proceed, this is an affiliate partnership. More details below.
How to create a travel website with a domain of your own
Step 1: Visit HostGator.com
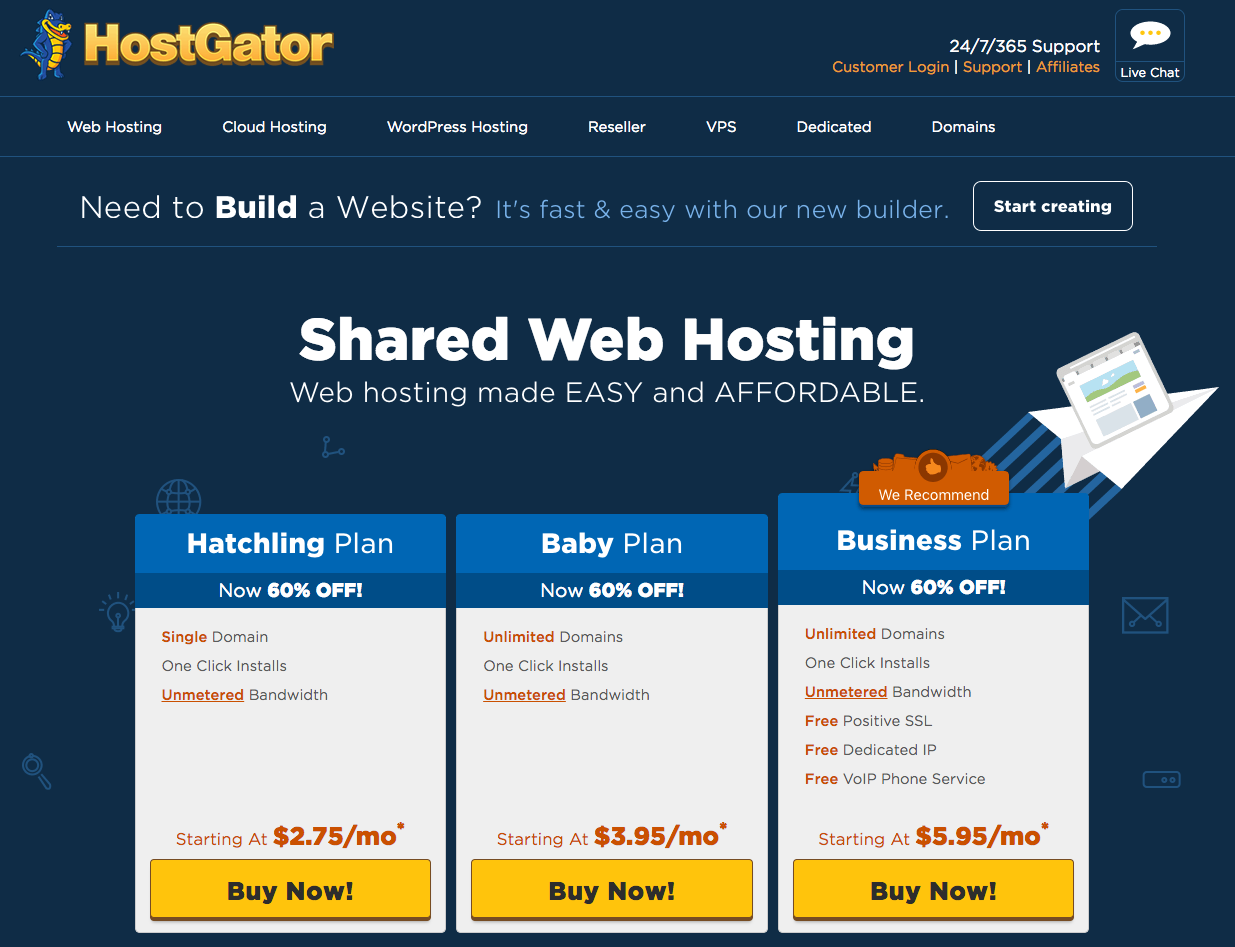
HostGator is said to a pretty good support team. The interface is user-friendly and it is affordable too. For WordPress users, HostGator’s hosting plans might be a good fit. For small businesses, HostGator has VPS and dedicated hosting plans.
Step 2: Hosting Plan
Select a hosting plan that fits your needs. (If you’re starting out, the Hatchling plan would be sufficient. But if you are serious about this and require more bandwidth, go with their Baby or Business plan). The Hatchling plan is suitable to host one website. If you have multiple domains and plan on creating multiple websites, go with the Baby plan. An upgrade later is always possible.
Step 3: Domain Name
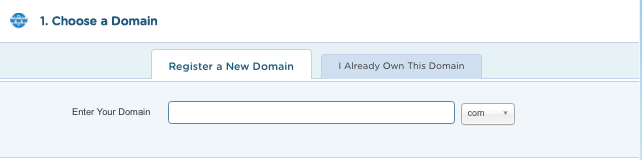
If you don’t have a domain name, you can buy the name from HostGator for $12.95/yr, based on availability. General advice when choosing a domain name is to keep it short, use keywords, avoid numbers and hyphens and make it memorable. Purchasing Domain Privacy is useful. For $1.25/mo (Billed Annually @ $14.95), your public contact information will be hidden from public view.
Step 4 – Confirm your Hosting Plan

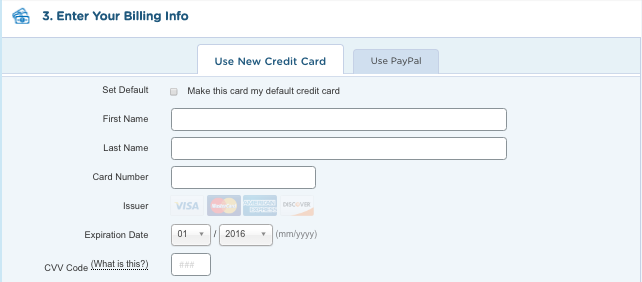
Review the Add-ons and decide if you want to add additional services. Review your order details and accept the terms.
[*Disclosure: please note that the Hostgator links are affiliate links. We will earn a sum if you were to make a purchase. If you have any questions on this, feel free to drop them in the comments section below.]
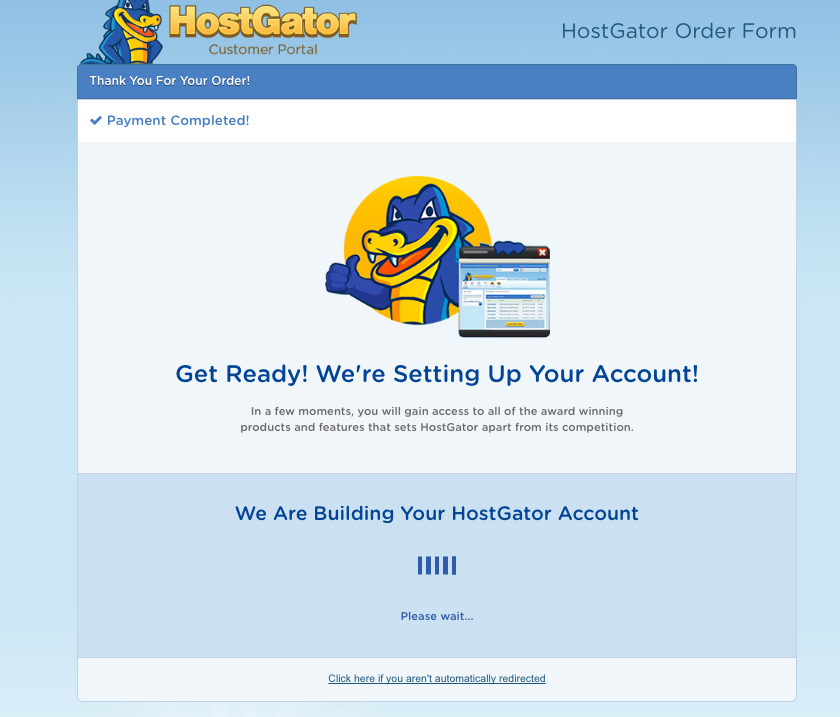
Your hosting account has now been created! HostGator will send you a welcome email confirming your Hosting plan, Control Panel link, Username, Domain, Password, 1st & 2nd Nameserver connected to your account.
Step 5: Install WordPress.org
Within the HostGator Customer Portal, visit the “Hosting” tab and find the WordPress Icon “Get
Started with WordPress Today”.
Make sure every field gets filled in here. Blog Title, Admin User, First, Last Name, and Admin Email. When WordPress has been installed, login to the Admin Area so you can start creating the website. In a new tab, type domain.com/wp-admin and login. This will be the easiest way to access your WordPress from your end. You can then download the relevant plugins and start posting content of your own.
Hope you find these tips useful and feel free to drop a comment in the box below, if you have any questions.
Leave a Reply