
Baking a sourdough in Singapore – it’s tough but satisfying
I love eating sourdough and used to think that it could only be baked in professional kitchens. I thought Singapore’s warm and humid weather wasn’t conducive for fermentation, but our yeast (Princess) seems to be thriving under these conditions. Before we go into the process, I would like to give a shoutout to my mum-in-law for guiding us throughout the process. She has a decade of baking experience but even so, found the sourdough baking process to be quite challenging. To be honest, I would never have thought about baking a sourdough in Singapore, but I’m glad we did. It’s tough but satisfying, and if you’re looking to do work on something new during this period of partial lockdown, this could be an option.
Before you consider jumping in, I’d say that say that it takes a very long time (about 2 days) to make a good sourdough. There’s a lot of waiting time. It involves feeding the starter, mixing, folding and shaping the dough and baking it in a dutch oven. The dutch oven can get pretty hot (about 200 deg c in temperature) so you have to be extremely careful as well.
It all started when Friend W dropped off a sourdough starter (Princess) at our place one day. I returned from a run and was startled to see a brown jar of paste-like substance sitting in the fridge. Turns out Princess was a mature starter – Friend W had been feeding her for about 9 days and she seemed mature enough to be used in bread-making. I ended up watching plenty of sourdough videos that night. Of all, I think Bingeing with Babish (above) was pretty helpful, and so was I Love Cooking Ireland.
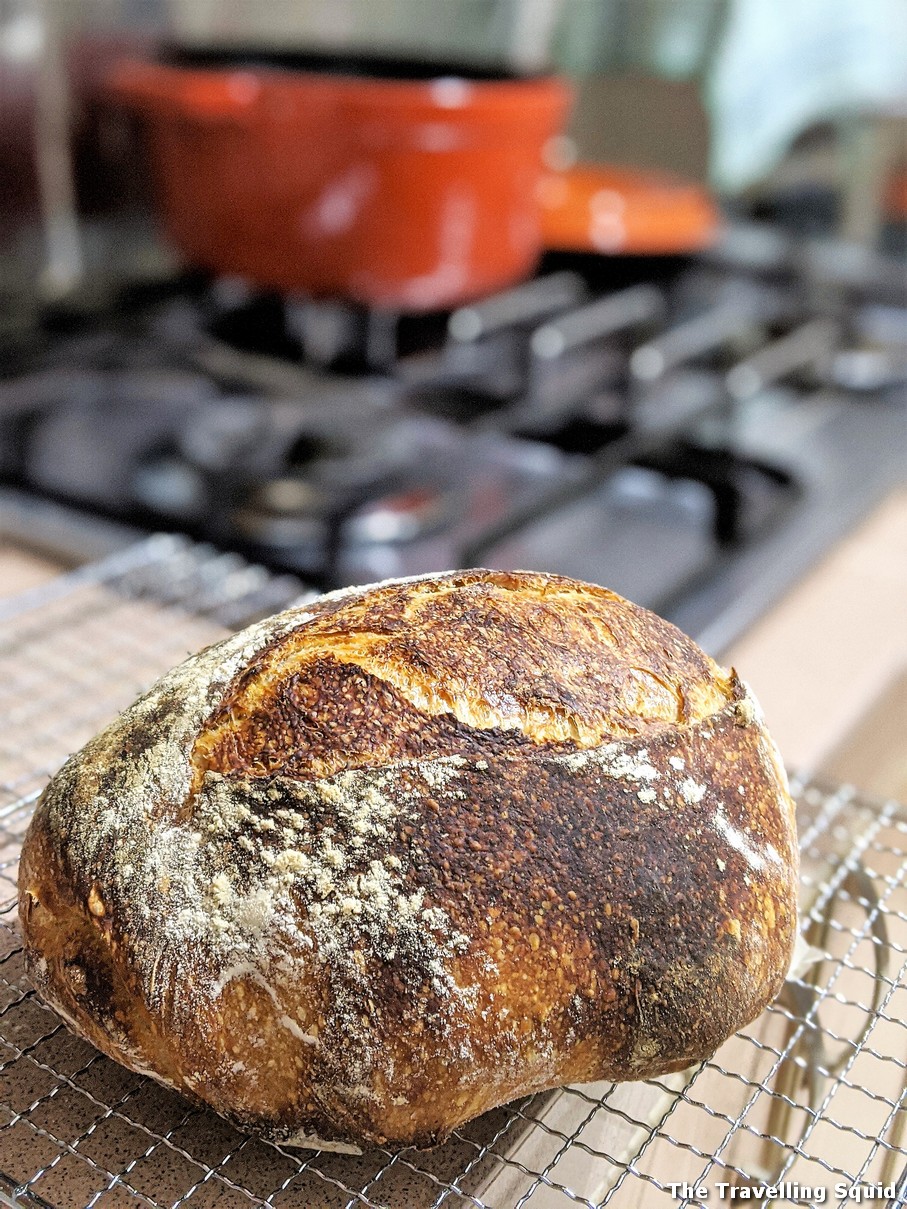
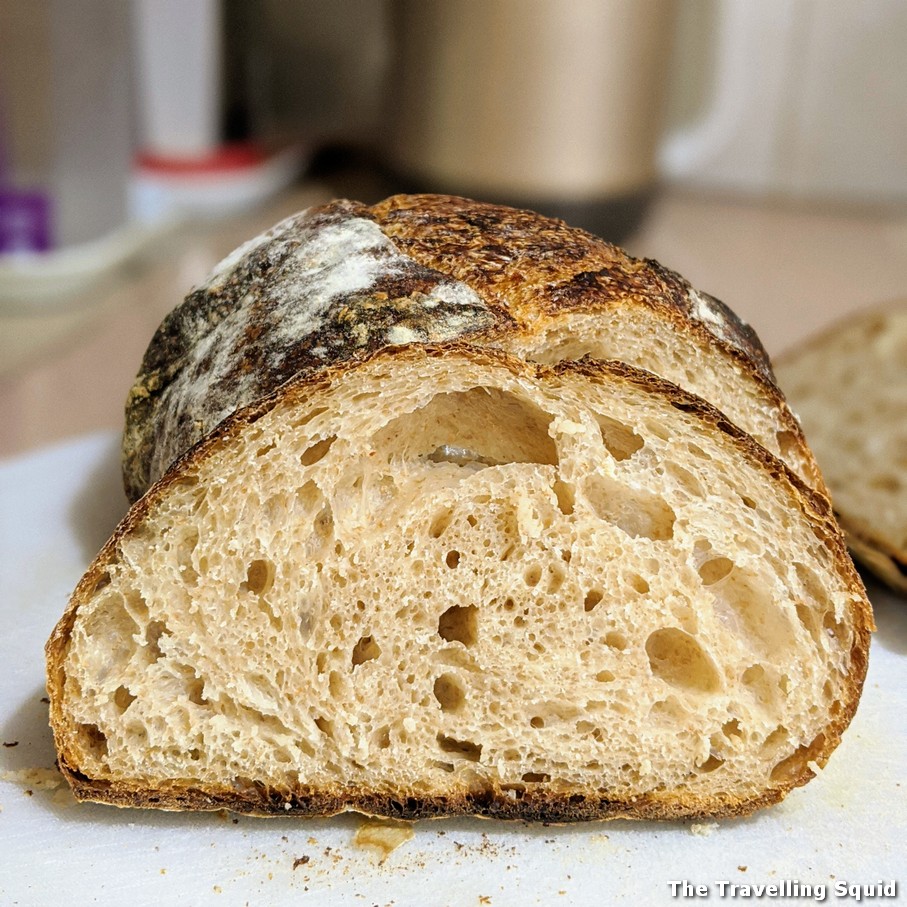
We have completed two sourdough attempts so far. Take 1 had a cake-like texture – the air pockets were very close to each other. It was chewy and lightly acidic, but did not have the texture of a good sourdough. Take 2 had more air pockets and a good crust, which was possibly due to the dutch oven. The post below will cover measurements for Take 2 since it had a much better outcome. The trick is to start small, as the dough is more manageable in small quantities.
Baking a sourdough in Singapore
1. Making your starter
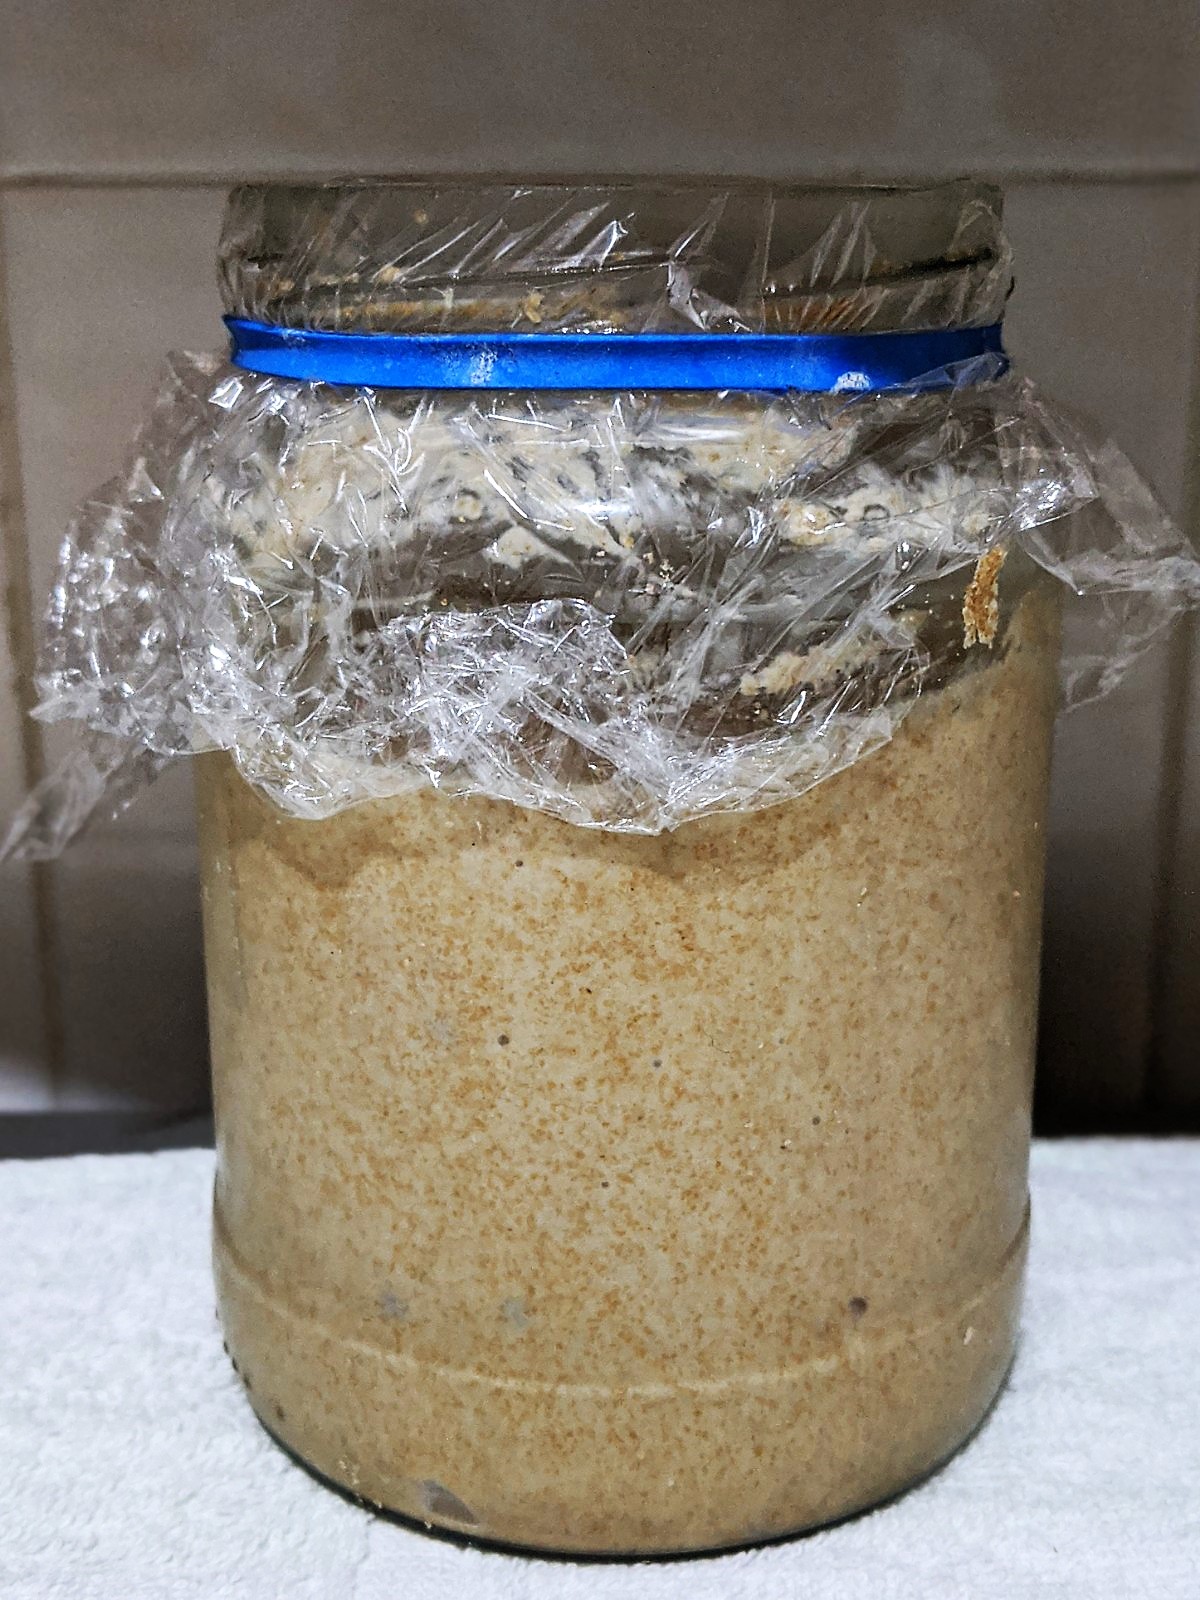
As shared earlier, my mother starter (Princess) came from Friend W, but it’s relatively easy to get started on your own too. Friend W got her recipe from I Love Cooking Ireland, just in case you’re keen.
2. Feeding
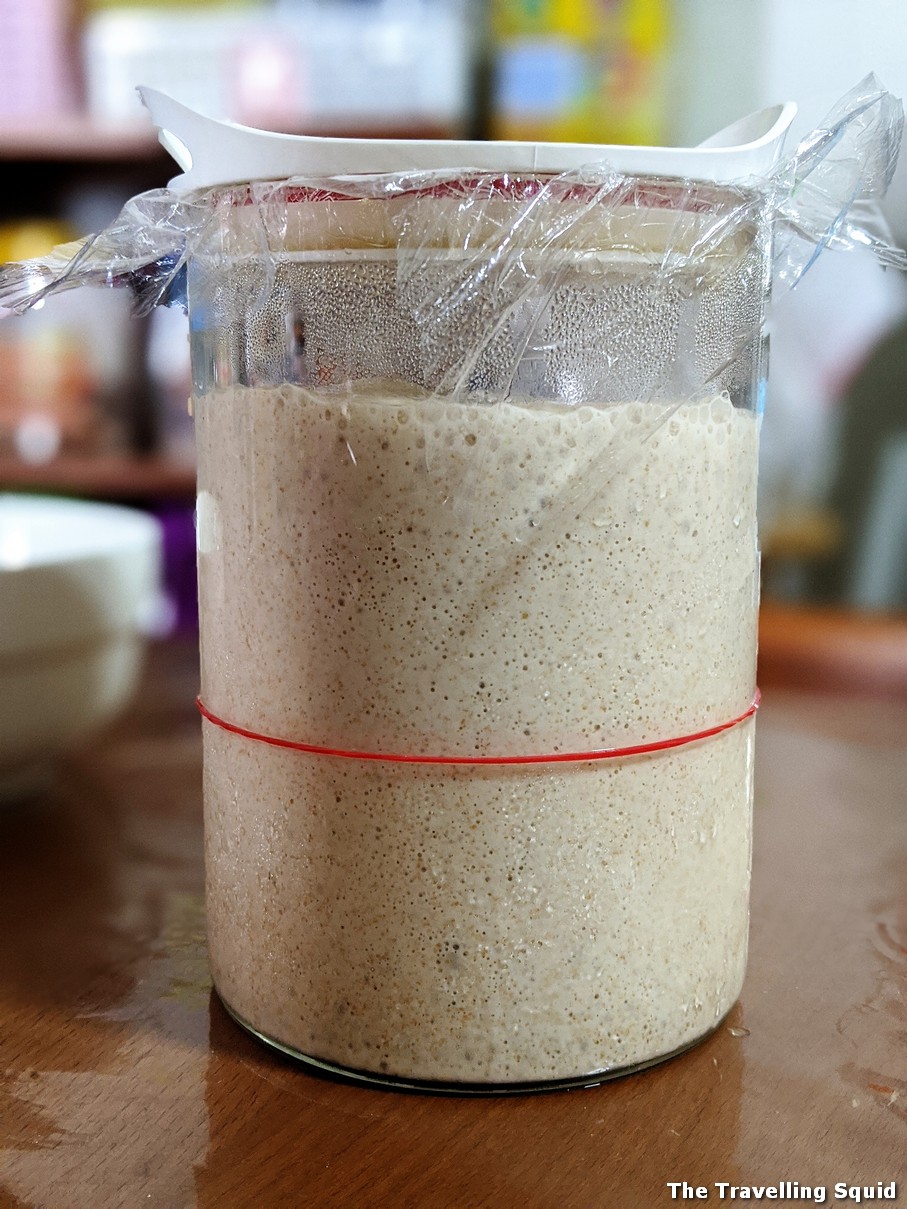
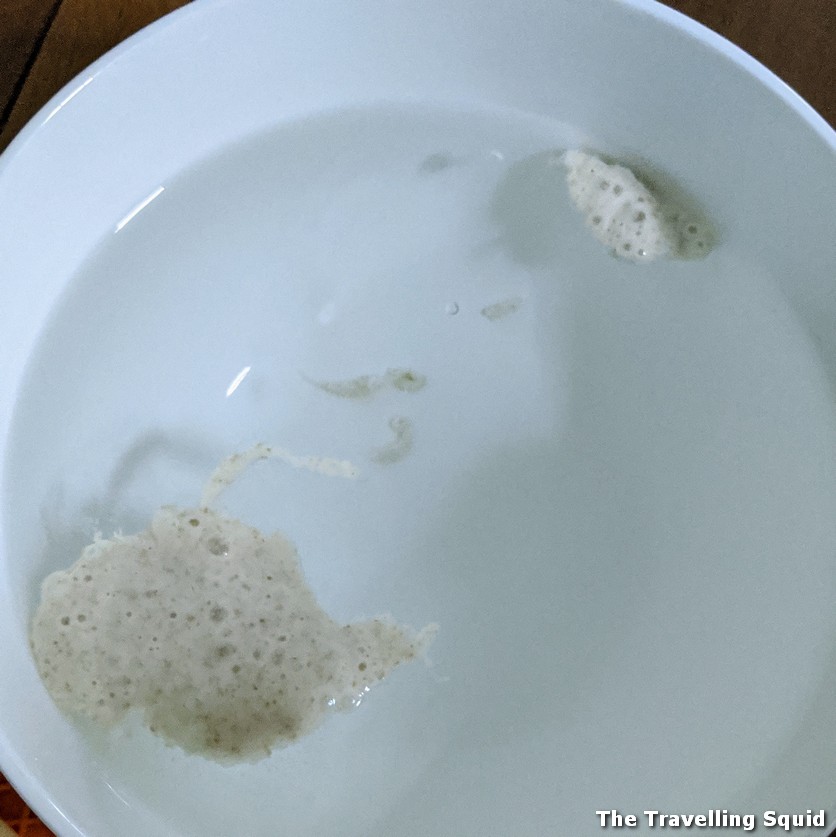
For Take 2, we took out about 60g of starter from Princess 2, placed it in another sterilised jar and added the same amount of flour and a similar amount of water to it. Gave it a good mix and waited about 3-4 hours for it to double in size. You can tell if the yeast is active by the number of bubbles in the mixture. To determine if it’s ready, drop some starter into a bowl of water. If it floats, it is ready to be used.
3. Mixing
You will need:
- 60g – sourdough starter
- 252ml – water
- 310g – bread flour
- 80g – wholemeal flour
- 8g – salt
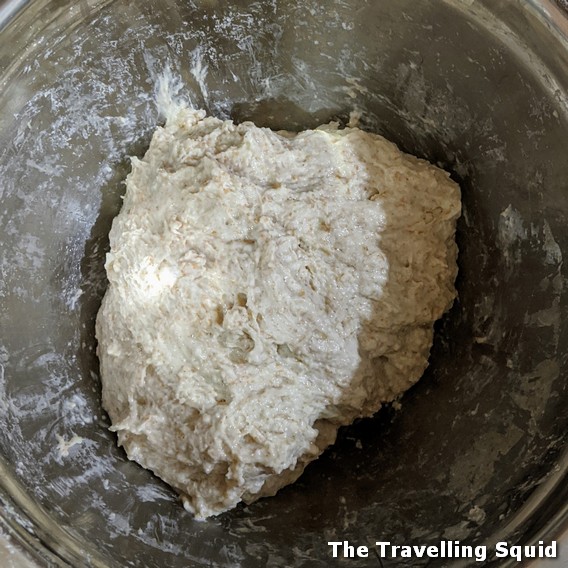
- We added the bread and wholemeal flour to the starter first. Made sure it’s well incorporated.
- Once that was done, we added water and mixed it thoroughly with our hands.
- Add salt at the end, as that causes the moisture to come out.
- One that is done, let the mixture rest.
4. Folding and proofing
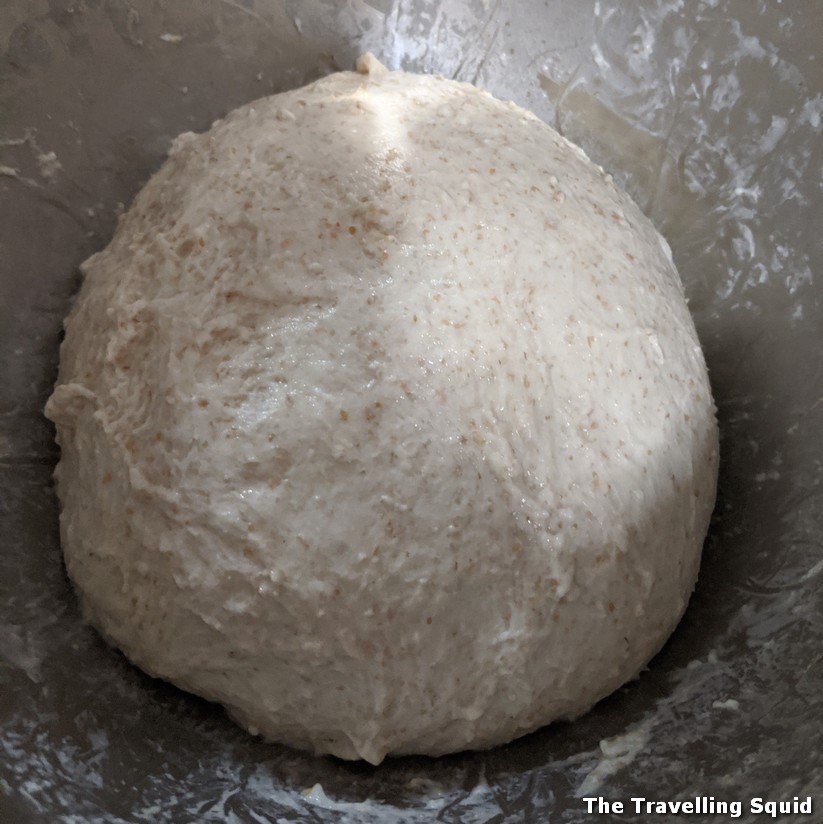
This process took about 4 hours, with us folding the dough every 30 minutes. Essentially, you stretch a bit of the dough out and fold it back to the center. Do it for about 1 minute each time. Given the consistency of the dough, no kneading was required. We did not use a mixer for this attempt and it actually turned out better too.
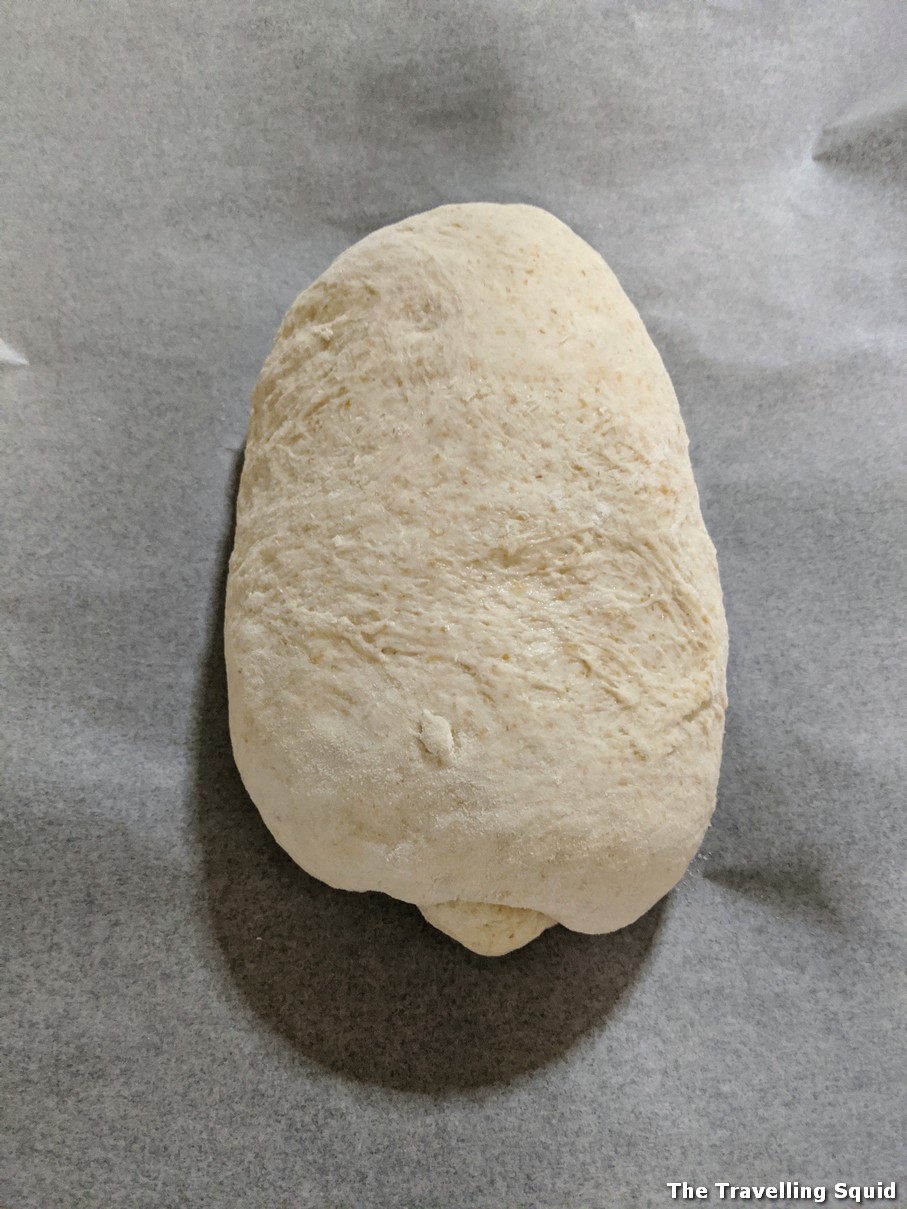
5. Shaping
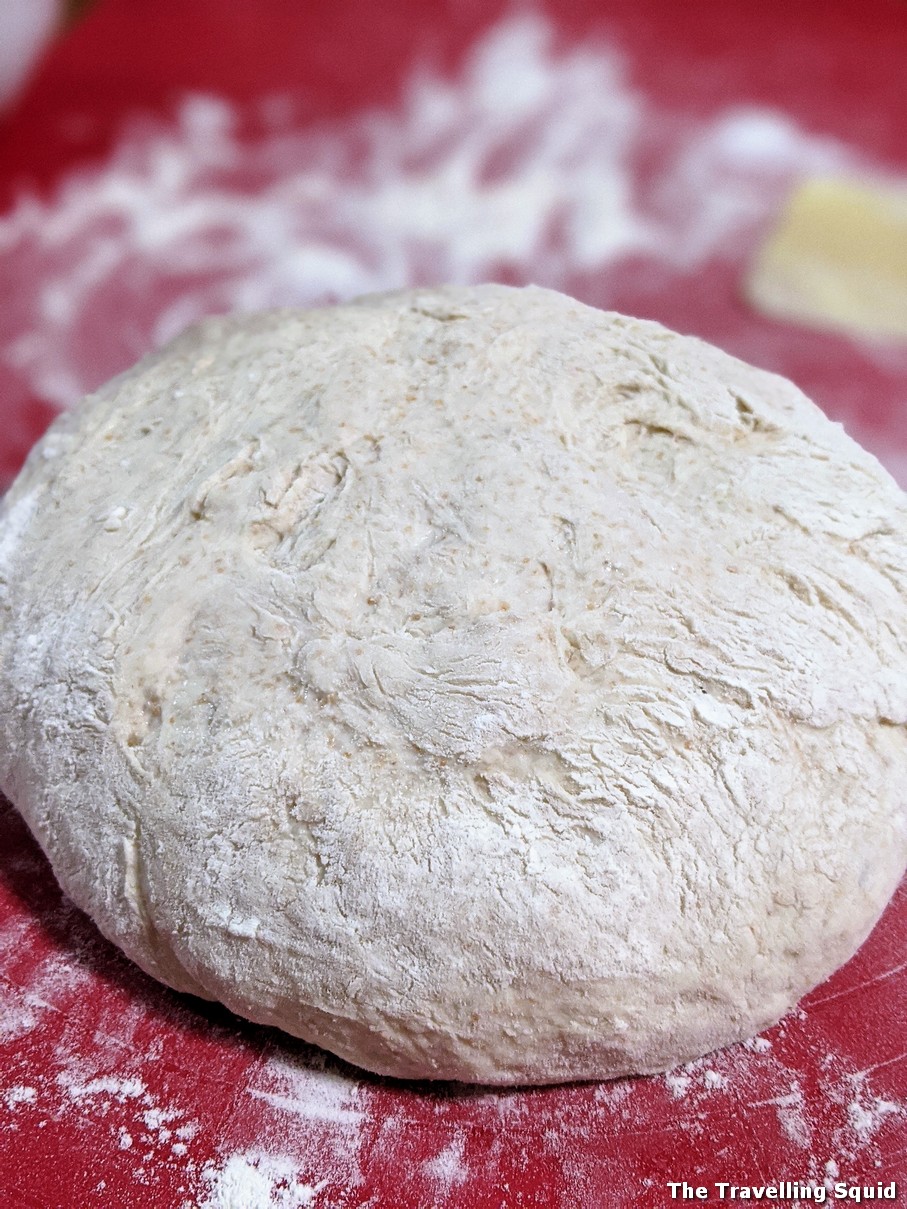
Shaping can be challenging especially if it’s your first time. You want to keep the bubbles but make sure it’s well-folded in. Bingeing with Babish demonstrates that really well.
6. Baking
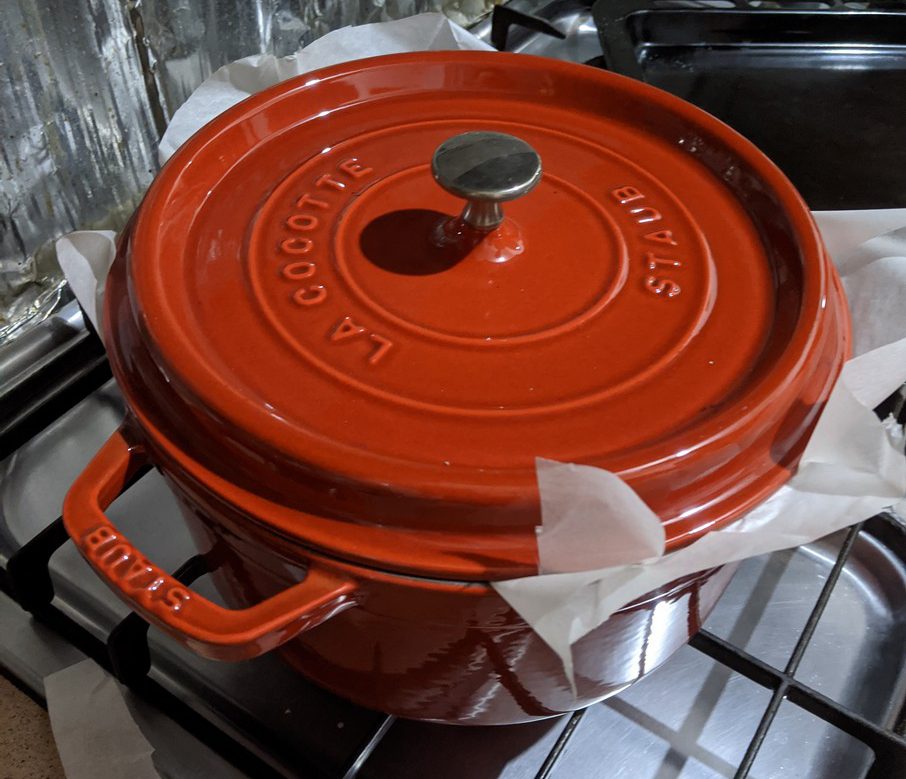
We heated up the oven at 220 deg c for about 20 minutes. Next, we placed the Dutch oven in for 20 more minutes. When that was done, we placed the sourdough in with baking paper as well. Before it went into the oven, we sprayed some water over it and scored the bread in the middle.
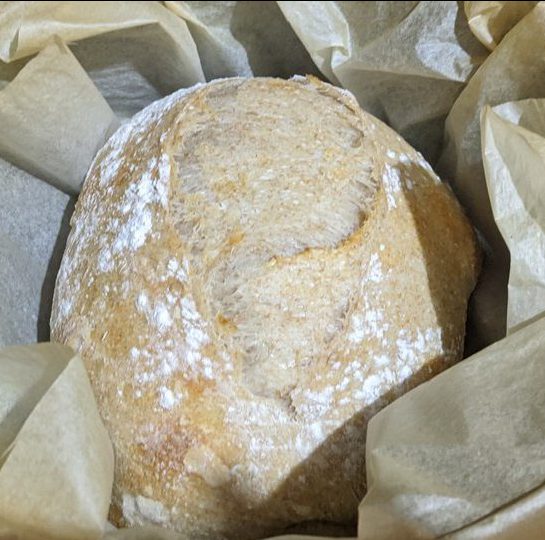
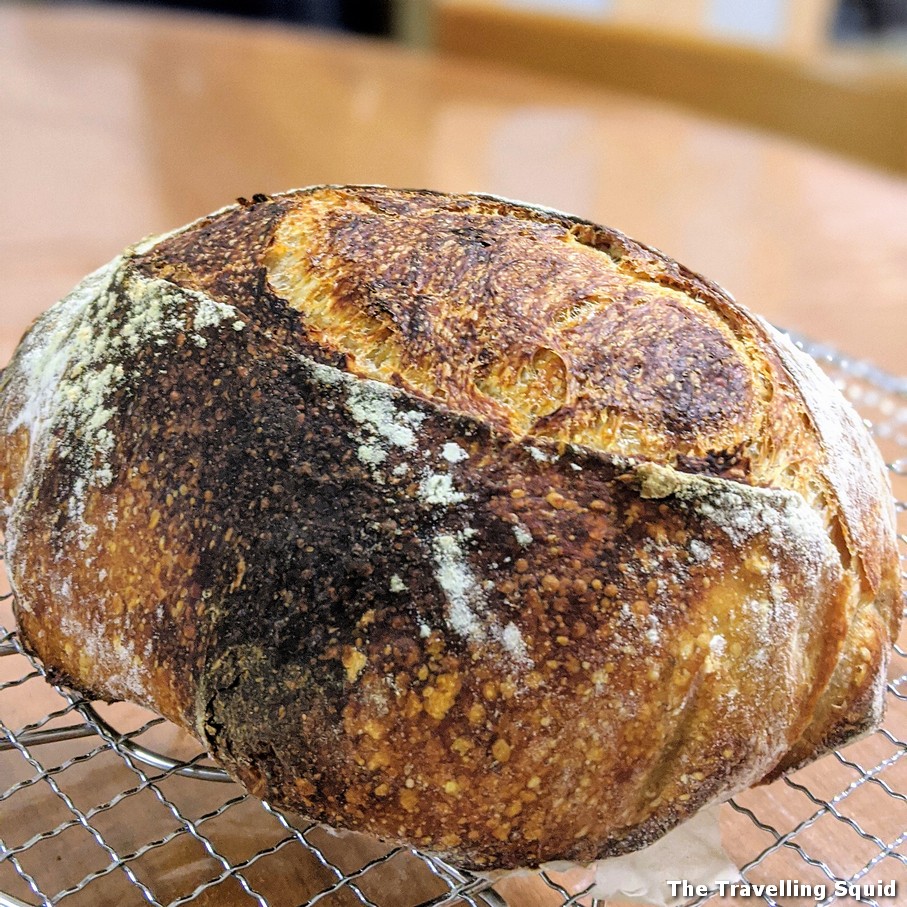
At the 23 min mark we took the dutch oven out, removed the lid and put it back in the oven. After 20 minutes it was quite well done. (If you like something lighter than what is in the photo, you can reduce the baking time especially during the last stretch.)
Upon cutting the loaf the next morning, we were pleasantly surprised by the air pockets especially in the middle of the loaf. I thought we did well. ᕕ( ՞ ᗜ ՞ )ᕗ
The Travelling Squid’s Take
Baking a sourdough in Singapore is really time-consuming. If not for the inability to travel, our partial lock-down and Friend W’s surprise starter Princess, we would definitely not have considered working on this. But I’m glad it turned out well. There’s always room for improvement. We’re not professionals, so if you have tips on baking sourdough at home do share them in the comments section below. A big thanks in advance!
Leave a Reply