
5 steps to applying for a US F1 study visa in Singapore
Now you’re in New York”
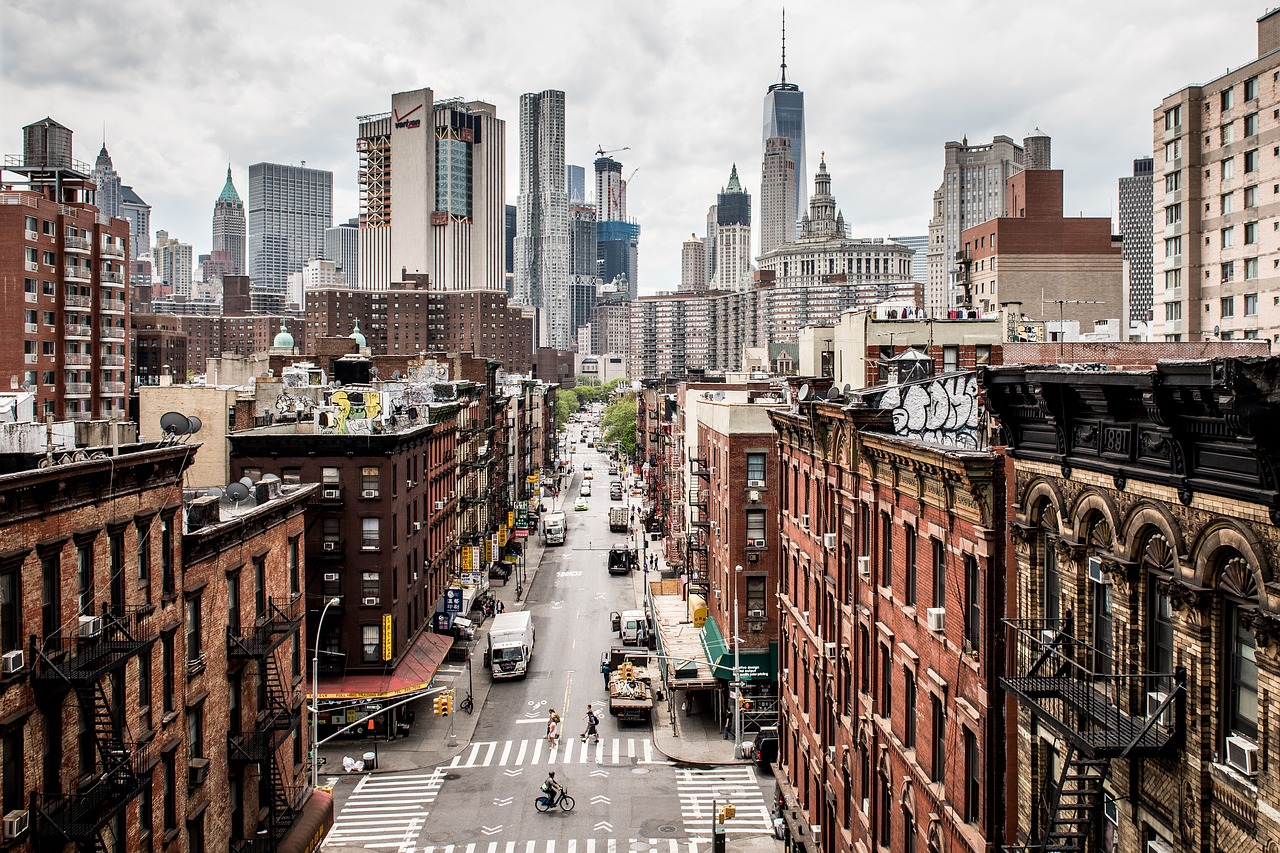
Photo credit: Pixabay, RealStash
If you’re planning to pursue academic studies in the US with coursework exceeding 18 hours per week, chances are you might need a US F1 visa. Here’s a guide to the application process. That said, it is by no means all-encompassing. Do refer to the US embassy’s website and its partner site, USTravelDocs for the latest requirements. In general, while there were multiple steps in the process, I found it to be quite manageable. Do be prepared to pay a substantial amount for the visa processing fee (USD160) and SEVIS fee (USD350). That added up to a grand total of USD510. Here are 5 steps to applying for a US F1 study visa in Singapore.
Before you proceed with the online applications, make sure you have the following documents:
- A passport with a validity date of at least six months beyond your intended period of stay in the US,
- A 2×2 inch digital photograph (you can use the software available on the Visa Application site to tweak a digital photo of yourself according to the requirements), and
- A Form I-20 from your university/ school indicative of your plans to study in the US. The Form I-20 should also contain a valid SEVIS number.
5 steps to applying for a US F1 study visa in Singapore
Step 1: Complete and submit your DS-160 form.
The DS-160 form is also known as the Nonimmigrant Visa Electronic Application Form. Do note that you will be linked to a site which is different from the US embassy partner site. Click the ‘Start an Application’ option and answer the questions in the form. You will need your SEVIS number and university’s details, such as the address and postal code.
Step 2: Pay the Machine Readable Visa (MRV) application fee
The MRV fee for the F1 visa costs US$160. Earlier, I made payment of this fee through Singpost SAM online at 4pm – this took a while to process and I could only schedule an appointment at 10am the next day. However, at the time of writing, I noticed that the mode of payment for this fee has changed. Instead of using the Singpost SAM payment services, it appears that you can only make online payment with a Standard Chartered (SC) bank account. If you don’t have a SC bank account, you will have to visit a SC branch to make payment. Refer to this link on USTravelDocs for more information. (Just in case you’re wondering if USTravelDocs is a legit site, it is – you can find the link to it on the US embassy website, under Global Support Services.)
Step 3: Set up an account to schedule a visa appointment with the US embassy
USTravelDocs will link you to this website to schedule a visa appointment. You can set up an account by clicking on ‘New User’. You will need the following:
- Your passport number
- Your MRV fee payment receipt number
- The ten (10) digit barcode number from your DS-160 confirmation page
Step 4: Prepare the documents required for the visa interview
Once you’re done scheduling an appointment, prepare the documents required for the visa interview. The visa appointment documents are listed in your appointment confirmation notice. This by no means an exhaustive list, so please refer to your appointment confirmation notice for the full list. Just as a heads-up, you may be required to provide the following:
- An admission letter from your intended institution,
- Scholarship award letters from your current and intended institution, if applicable,
- Certification from any specialty coursework or programs,
- A letter of support from your financial sponsor including employment details and monthly salary, if applicable,
- Bank statements for the past 6 months from you and/or your financial sponsor/ Income or property tax records from you/your financial sponsor,
- A passport photo (50mm x 50mm) – Full face taken on a white background, taken within the last six (6) months.
There is also a passport photo machine in the embassy, so don’t worry if you are unable to get hold of a passport photo prior to your appointment. It costs SGD10 at the time of writing.
Step 5: Visa interview at the embassy
The steps were straightforward. Due to COVID-19 safe distancing rules, it will be good to get to the embassy 10-15 mins before your appointment. Depending on the number of people in line, there’s a sheltered area for you to wait at which is across the road from the guardhouse. At the guardhouse, surrender your phone – you are advised not to bring larger electronic items such as a laptop. The process was straightforward – submit the relevant documents and answer a few questions. I recommend selecting the home delivery collection of your passport as it was pretty fast too. The official time taken to process the visa is 4-5 business days and I received my passport within 2 working days.
The Travelling Squid’s Take – applying for a US F1 study visa in Singapore
While applying for the F1 visa, I couldn’t find much information available online on the visa application process, therefore I hope this helps. Please take this only as a guide – the requirements may change from time to time and will differ based on geography too. Do follow the advice from your university – it should be the most updated as their staff should be keeping track of developments on the ground. Good luck!
Leave a Reply