
10 steps to move your WordPress site from Bluehost to Amazon Lightsail (with minimal disruption)

I have no prior computing experience, hence embarking on a website migration was a tad daunting. But on hindsight, moving my Wordpress site from Bluehost to Amazon Lightsail was a rather straightforward process. The Amazon Lightsail platform was easy to use. A bulk of the time was downloading all my web files from Bluehost via Filezilla, to my computer. Appended below are 10 steps to move your WordPress site from Bluehost to Amazon Lightsail. From experience, I have arranged them in a way that causes the least downtime. In gist, do a proper back-up of your site before embarking on the migration. Only change the nameservers under your domain name when your new site is up.
10 steps to move your WordPress site from Bluehost to Amazon Lightsail
*Note: The IP addresses used in this example no longer exist. They were set up for the purpose of this tutorial.
1. Use Filezilla to download all your web files from Bluehost
This step is important. Bluehost has an option where you can back-up files through a zip file. However due to the large file size of my site, I was not able to do download the zip file. So I used Filezilla to copy all individual files over. The process took more than 24 hours due to the latency from the Bluehost server.
2. Disable the SSL redirection for your original site
If your site has a SSL cert, disable the SSL redirection temporarily. If you are using the Really Simple SSL plugin, deactivate it. Check that you are able to access your site with a http address. This is essential for accessing the WordPress admin page on Amazon Lightsail later.
3. Use WordPress plugin Updraft Plus to backup your files: a) database, b) uploads c) plugins and d) other files
(Before I continue, I should highlight that this is not a sponsored post. I learnt about the Updraft Plus plugin after reading reviews online. It was quite a lifesaver.) I earlier used the free Export function under the Tool section of WordPress to transfer files over, but the transfer was about 20%. So I decided to go with the Updraft Plus plugin. I paid USD30 to use the Updraft Plus Migration product and it was money well-spent.
The steps to back up your files on UpDraft Plus are pretty straight forward – you can follow these instructions. When you’ve got the four zip files (a) database, b) uploads c) plugins and d) other files) saved on your local PC, you can then work towards setting up an Amazon Lightsail instance.
3. [Lightsail] Create an Amazon Lightsail instance
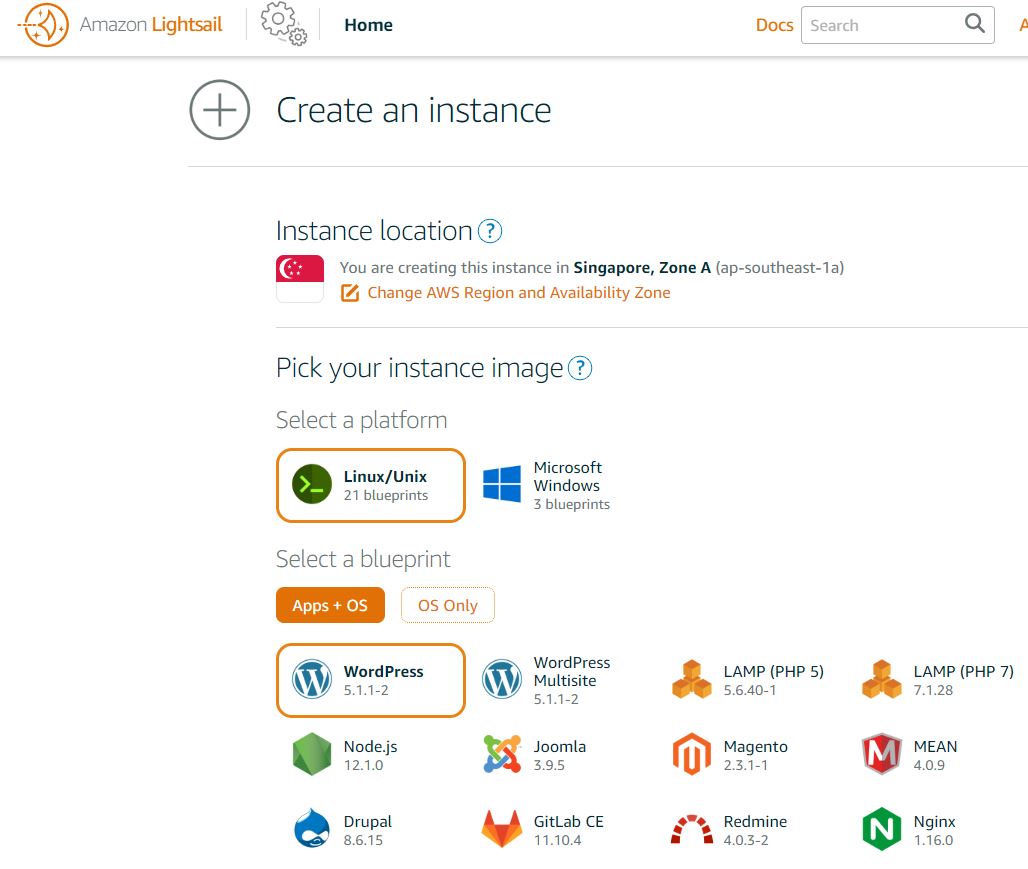
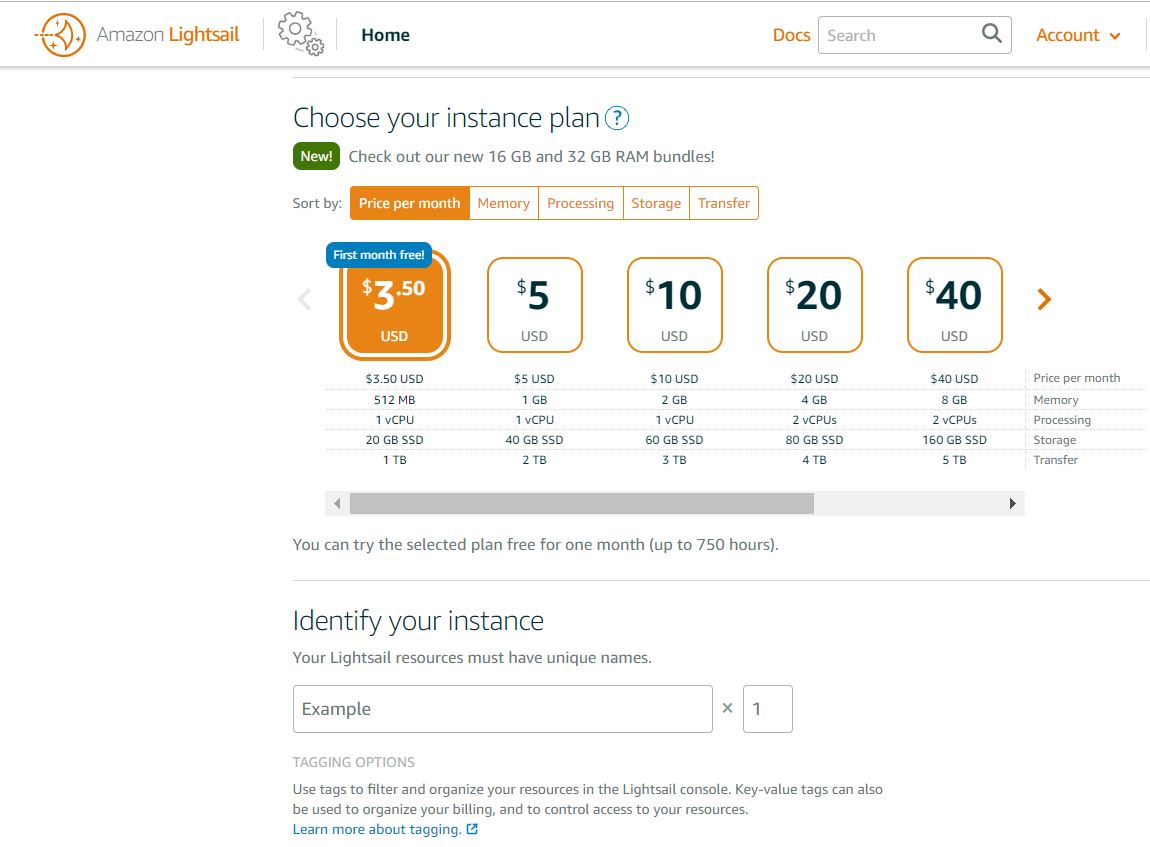
Go to the Amazon Lightsail page and sign up for a plan for your instance. Select the WordPress option. As shared in an earlier article on whether you should do a website migration from Bluehost to Amazon Lightsail, the pricing for Amazon is much more affordable – I selected the USD5 plan as it more than met my requirements. For new subscribers, the basic plan is free for the first month. You can find the full set of instructions from Amazon here.
4.[Lightsail] Connect to your instance through SSH. Enter the commands to obtain your password for logging into WordPress
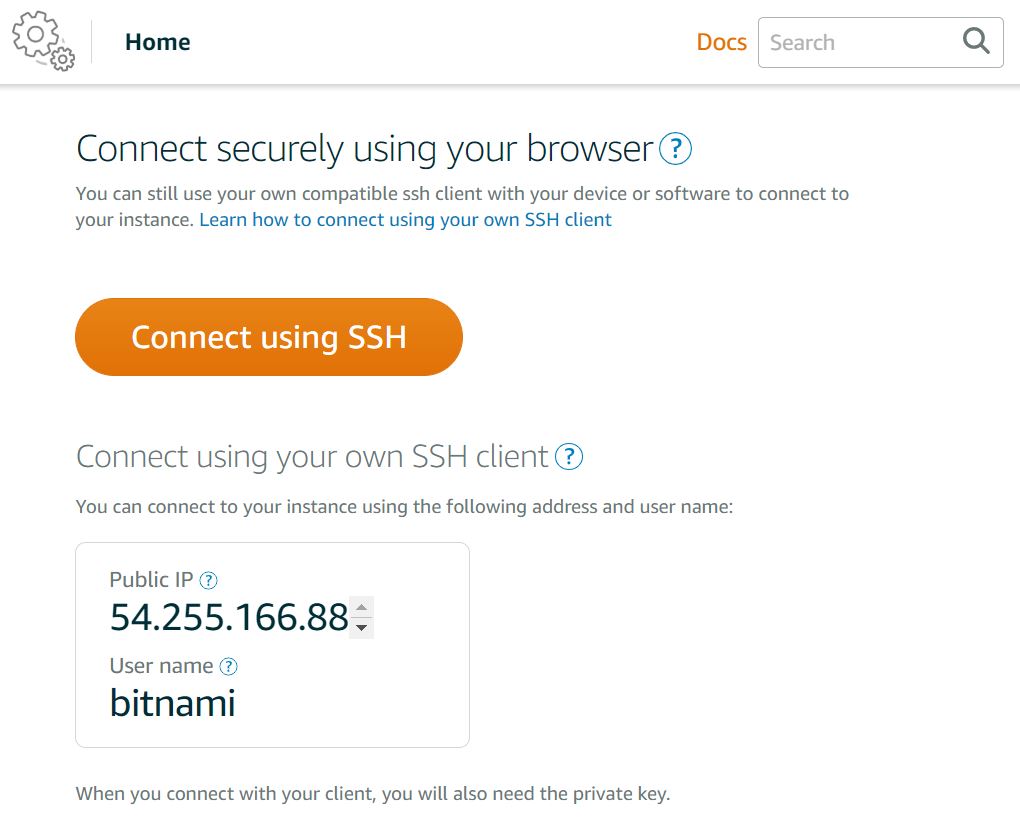
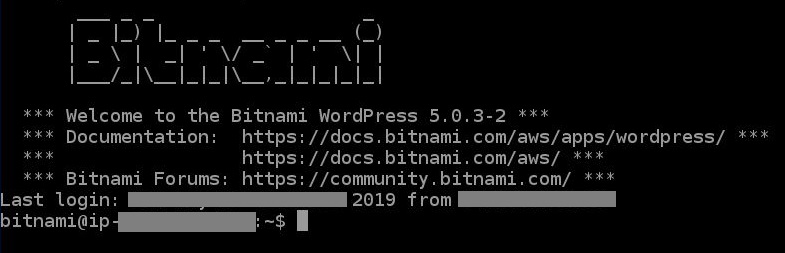
From the screenshots above, connect to your instance via SSH and then type in the command: cat bitnami_application_password. Do note that you can’t copy and paste within SSH – you will have to type the full command out.
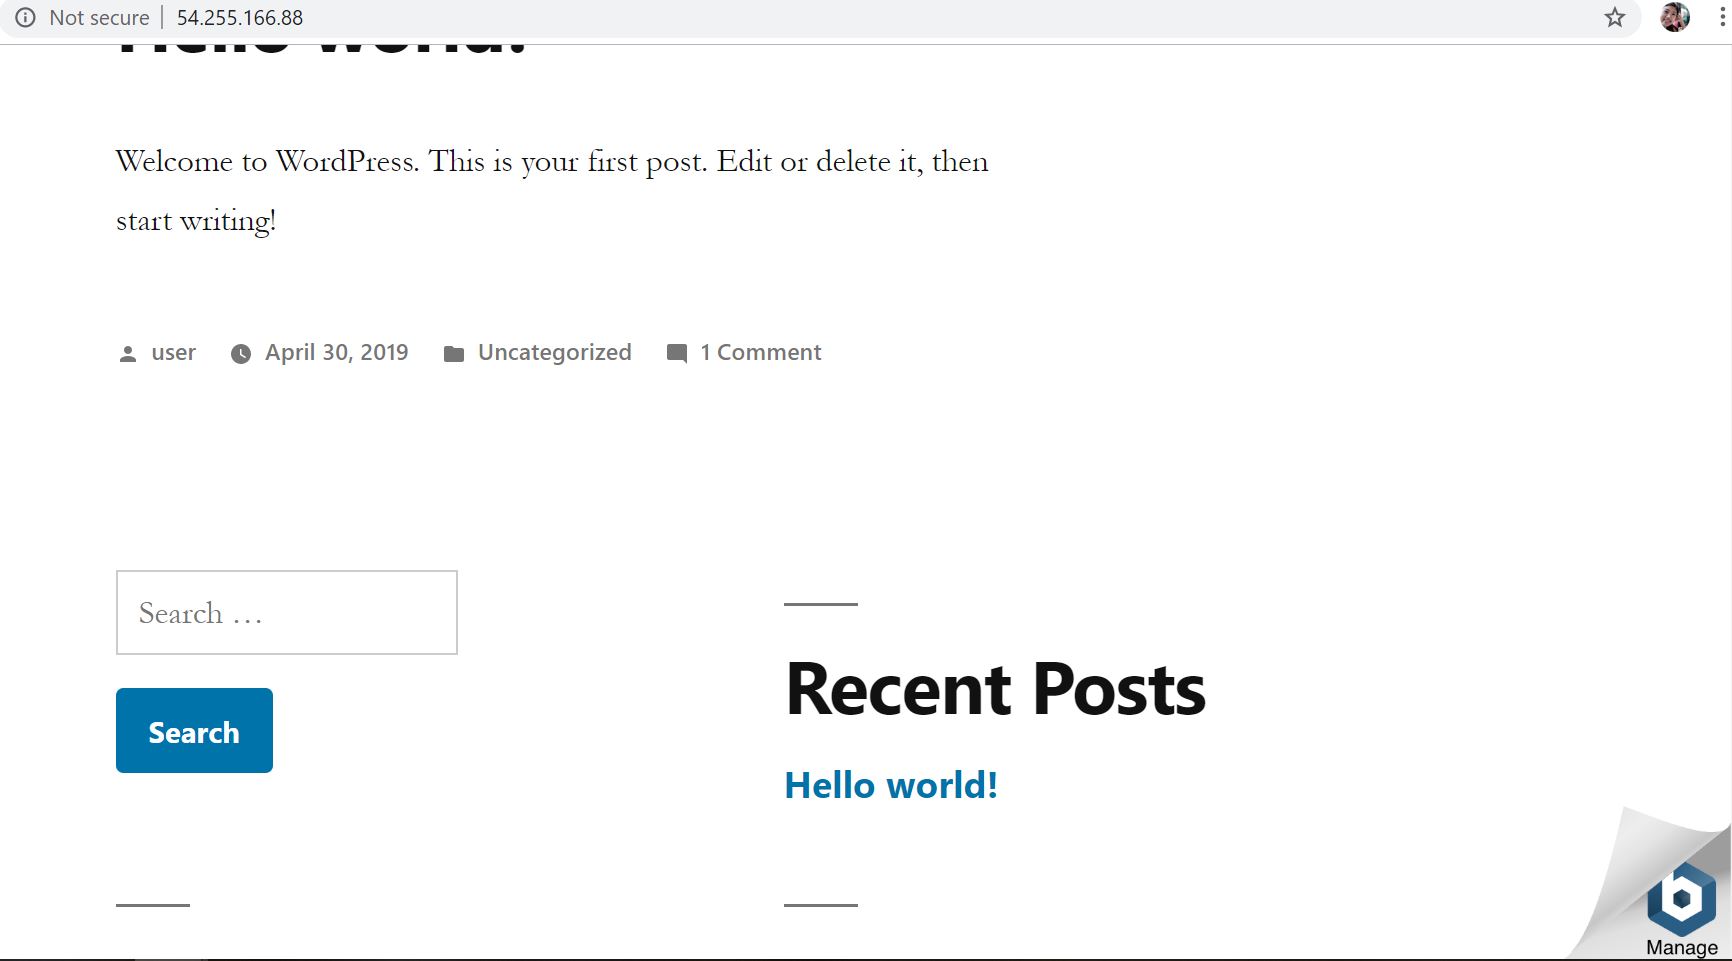
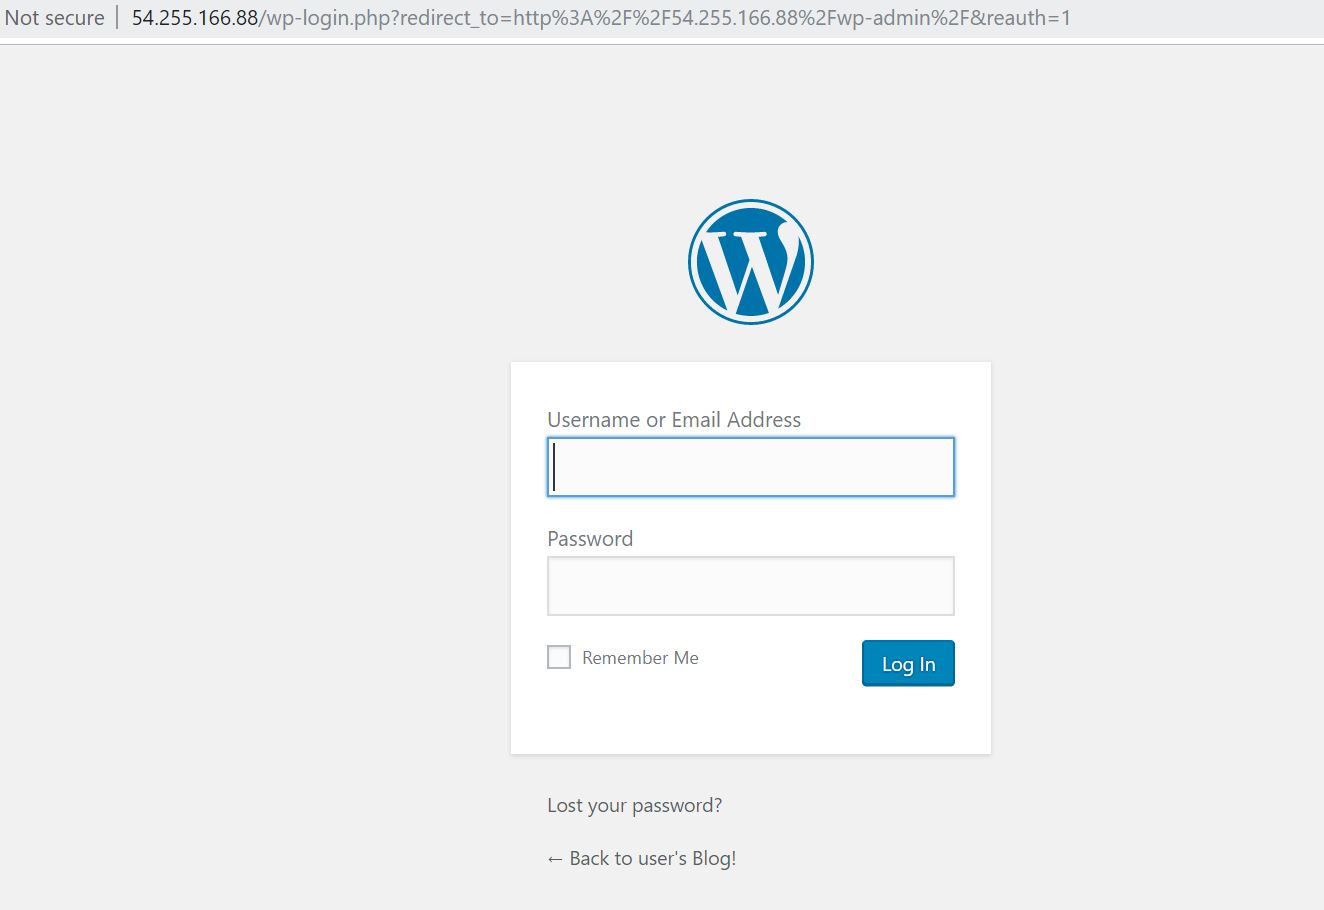
Type your IP address in a tab on your browser and the site should look like the screenshot below. Click the Manage icon at the bottom right hand corner, followed by the link to the WordPress admin console. Enter your username (bitnami) and your password. You should be able to login to the WordPress admin panel.
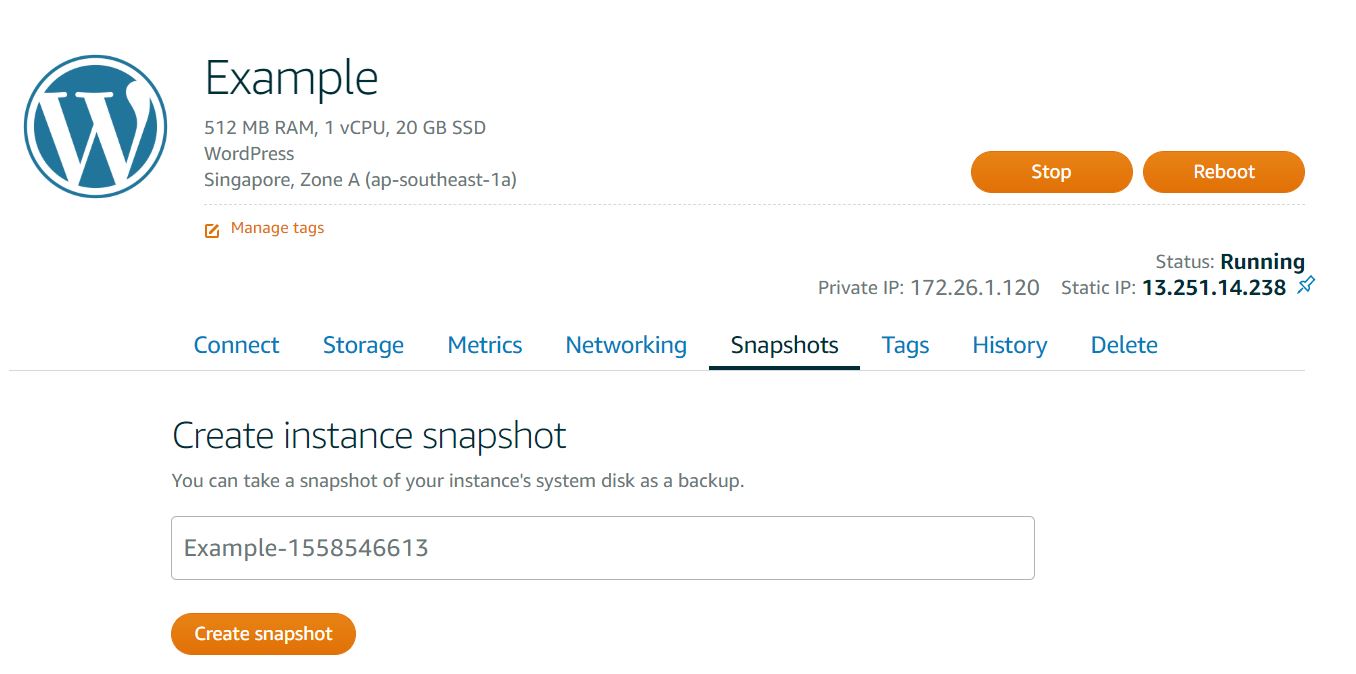
5. [Lightsail] Create a static IP under the Networking tab of Amazon Lightsail
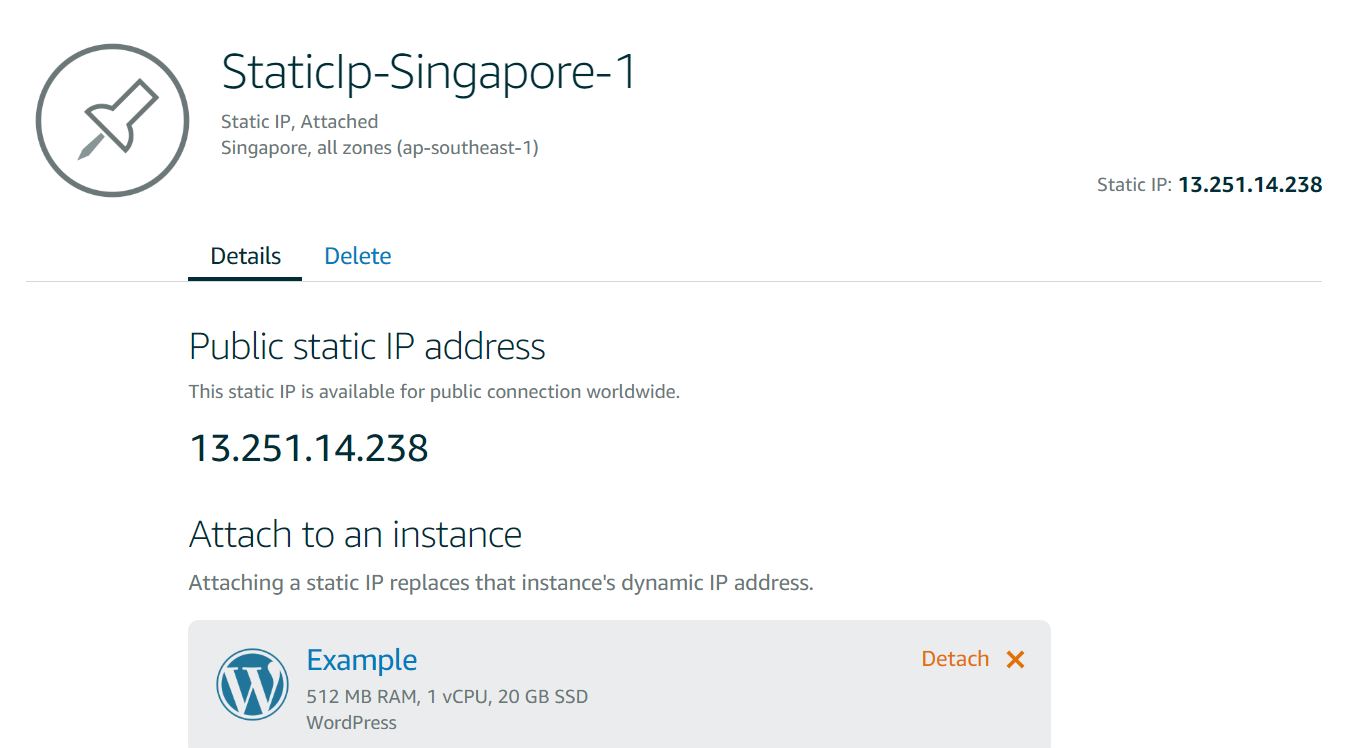
You will need a static IP such that the IP address doesn’t change over time. After creating a static IP, link it with your WordPress instance. You should be able to access your WordPress site and admin page with the static IP.
6. Login to your new WordPress site using the static IP. Upload the back-up zip files using Updraft Plus
Download the Updraft Plus plugin on your new WordPress site and login to your Updraft Plus account. Then restore the backup zip files. If the files are restored correctly, you should be able to see most of your existing content on your new site. When I uploaded the back-up files, the theme and layout of my site was retained.
Earlier, I said to disable https redirection if you had it enabled for your Bluehost site. This is because if you were to restore your original site with the https redirection, you will face difficulty logging in to the WordPress admin panel as https has yet to be enabled for your new site. This happened to me back then and to circumvent this, I deleted the SSL plugin via Filezilla.
7. Use Filezilla to upload photos from backup
While Updraft Plus was useful in transferring over my blogposts, it was not able to migrate over the photos and I uploaded them manually via Filezilla. To locate specific folders to upload the files in, I clicked on the link to photos which were not present. One possible example of where the photos could be stored would be http://example.com/wp-content/uploads/
You will be able to obtain your Filezilla login details by downloading a .pem key (a private key). Click on the ‘Account’ tab under Lightsail, followed by the tab ‘SSH keys’ – you will see a download link.
Login to Filezilla by keying the settings in this site and upload the .pem key.
You may not be able to upload files at the start due to the permissions required. Hence, you will need to enter the following commands via SSH to provide permission for files to be copied to a specific folder. Check out this Bitnami documentation on the specifics of how to go about it. I followed the commands and managed to upload the files to the right location. Note: you will have to do so for all individual folders (/wp-content/uploads/2019)/ (/wp-content/uploads/2018)and not just the main file (/wp-content/uploads/).
 $ sudo stat TARGETFOLDER [For example: /opt/bitnami/apps/wordpress/htdocs/wp-config.php]
 $ sudo chown bitnami TARGETFOLDER
 $ sudo chmod +w TARGETFOLDER
To remove the Bitnami icon at the bottom right hand side of the page
The Bitnami documentation has provided commands for this using SSH. I recalled that particular command didn’t work for me and I used this command instead: sudo touch /opt/bitnami/apps/bitnami/banner/disable-banner. Restart the Apache server thereafter.
For minimal downtime, ensure that your site is almost good to go before going ahead with the next step.
8. [Lightsail] Create a DNS Zone and connect it with your instance
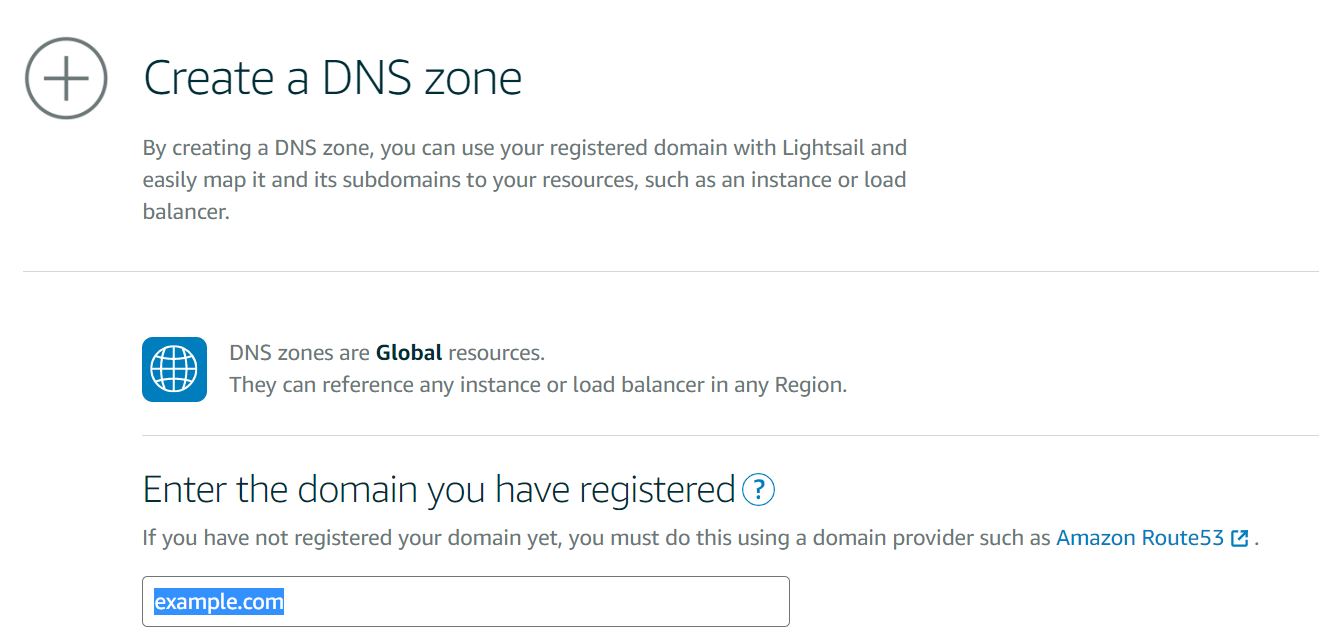
Under the Networking tab of Lightsail, create a DNS Zone with your domain name and connect it with your instance. Login to your domain name provider (for me it was GoDaddy), and change the name servers. It might take a while before the redirection happens. It took about 20 – 30 mins for me.
9. SSL certification
I chose to purchase a Lightsail load balancer as it comes with SSL coverage. The charges are USD18 per month. Load balancers are useful for sites which experience a spike in traffic from time to time. We don’t face that issue, but as our site is image heavy, the load balancer helps to load pages much faster.
You can also get a SSL cert free of charge from Let’s Encrypt. Bitnami has some instructions on how to go about it. For my new site, I had no choice but to revoke the GoDaddy SSL certificate I had recently purchased to test if the Amazon SSL is working. I strongly advise against getting a GoDaddy SSL certificate – the company has not been honest and upfront with it’s refund policy. It is also incompatible with other hosting providers like Bluehost. More to come in a separate post.
10. Enable redirection to https:// and save a Snapshot (back-up)
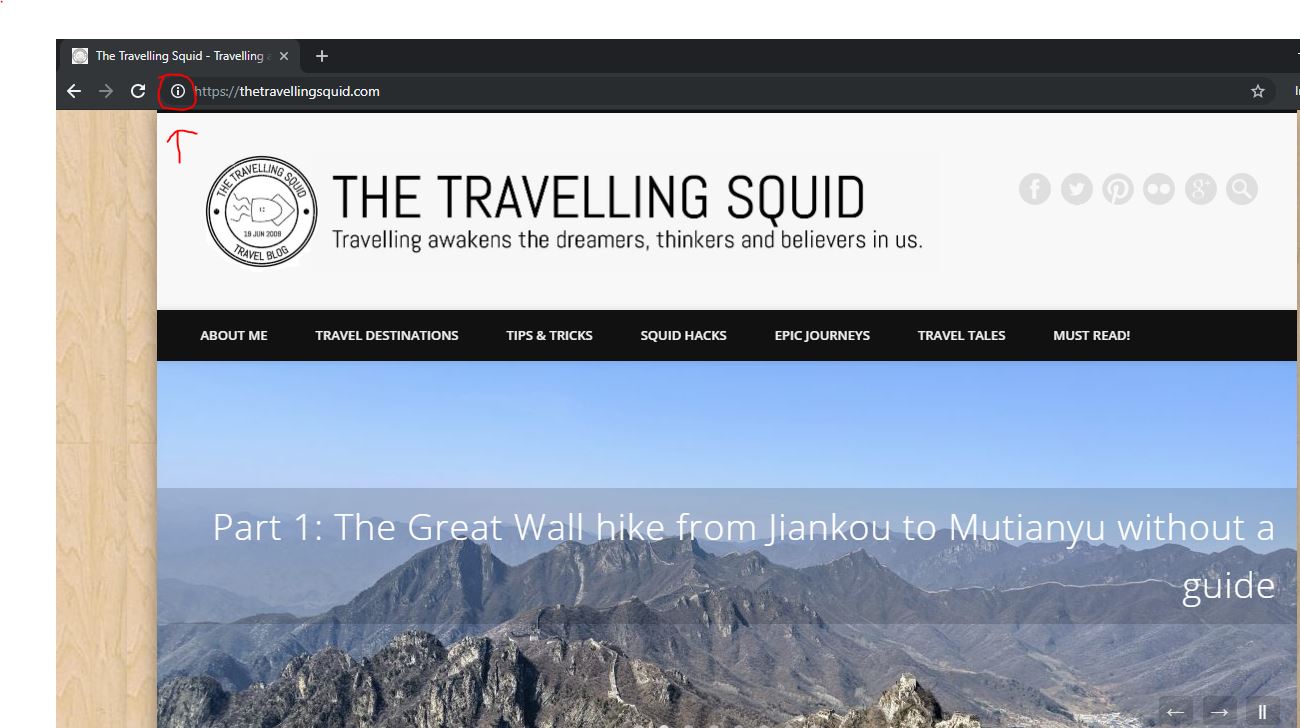

You can do a test to see if the SSL cert is running correctly. Using Chrome, you can click on the padlock icon next to the site’s URL. Click on certificate and you can see if your site is running using the new SSL certificate.
Once that is done, download the Really Simple SSL plugin and activate it. You new site will be automatically directed to https://
You are almost done! I’ll recommend that you save a Snapshot as back-up. I once tried deleting one of the WordPress plugins on my site and it crashed. I had to restore the site using a Snapshot and a new instance – thankfully I could do this pretty quickly and no data was lost.
Tip: Updating URLs on your site using the Velvet Blues Update URLs plugin
While migrating the site over, I realised that some links were still pointing back to my old IP address. To address this, I used the Velvet Blues Update URL plugin to swap out the old links. Found it to be a rather useful tool.
The Travelling Squid’s Take – Moving your WordPress site from Bluehost to Amazon Lightsail
Migrating The Travelling Squid from Bluehost to Amazon Lightsail was probably one of the best decisions I’ve made. The site loads quickly now and I don’t have to worry about downtime. While there were teething issues, I feel it’s more within my control as I can do a search online and there are answers usually available. To address some of the issues I faced at the start, I also opted for the AWS Developer Support Plan (USD29/ month), where I could write in to the support team with my queries. So far, their responses have been very robust, much better than what I have received from other web service providers like GoDaddy and Bluehost. I like how the support team communicates through email, and how they have also referenced other weblinks to support their points and explain the situation. Kudos to the Amazon team! A good product speaks for itself.
Hope you found the steps to move your WordPress site from Bluehost to Amazon Lightsail useful! Feel free to drop a comment if you have questions.
Leave a Reply