
6 simple steps to make Okonomiyaki at home
After writing the post about having Okonomiyaki at Japanese restaurant Yukari in Osaka, I had a strong urge to eat Okonomiyaki again to relive the experience. We did a quick research on Okonomiyaki recipes online, and found one from Just One Cookbook. The steps were quite straightforward and seemed easy – first prepare the batter and let it sit in the fridge for about an hour, make the Okonomiyaki sauce, prepare the rest of the ingredients, fold it in the batter and start cooking. We later realised that it was the cooking process which took much longer than expected. Here’s our recommendation on 6 simple steps to make Okonomiyaki at home.
Grocery Shopping
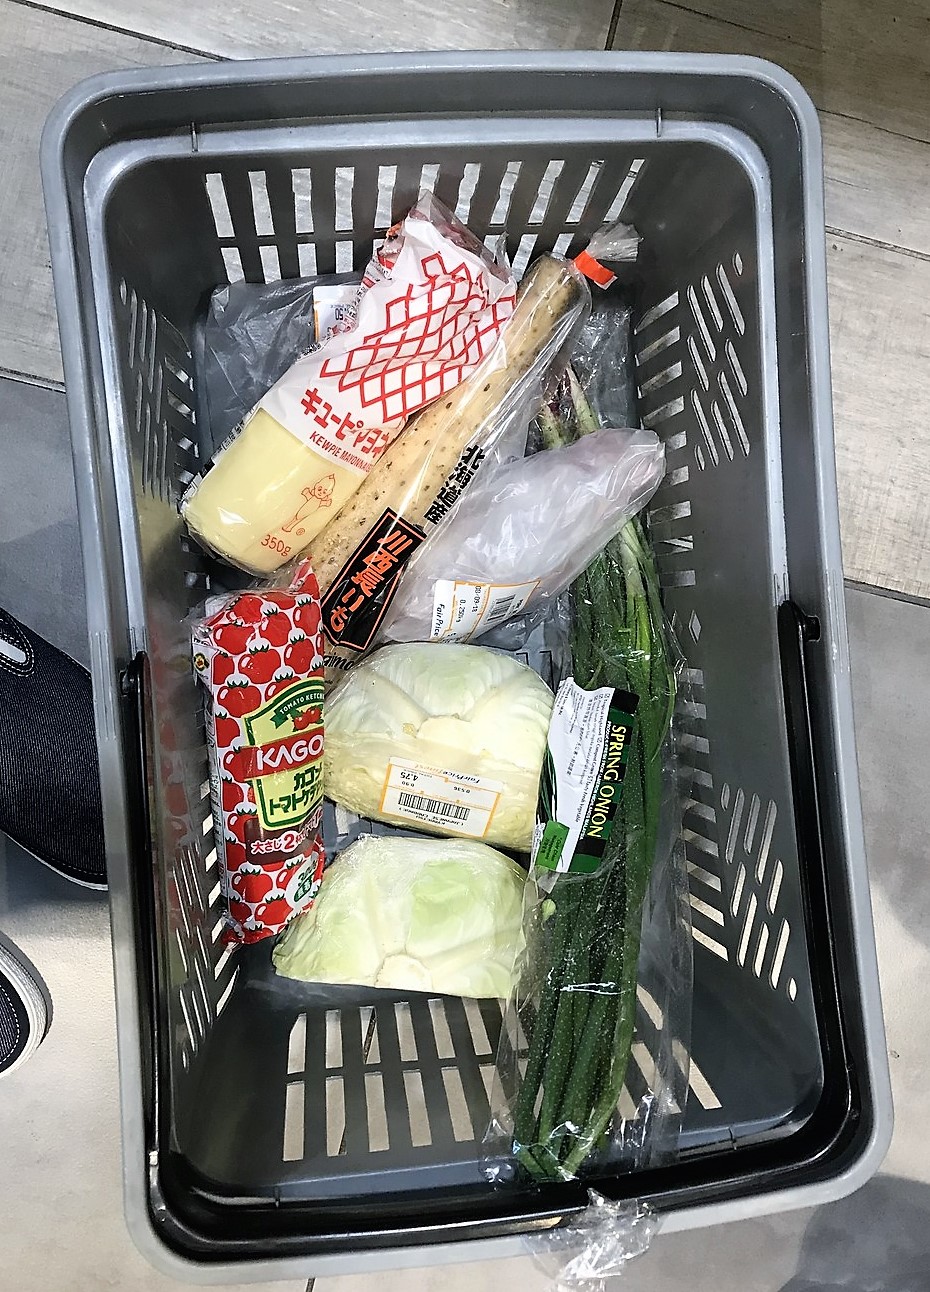
I manage to get all the ingredients from NTUC Finest at Waterway Point in Punggol. The ingredients were not expensive – except for the Nagaimo (SGD7) (a Japanese equivalent of Chinese Yam) and Japanese cabbage (the whole head of cabbage was about SGD8). A point of reference would be the cabbage from Malaysia which was priced at SGD2 per head. I spent about SGD37 in total.
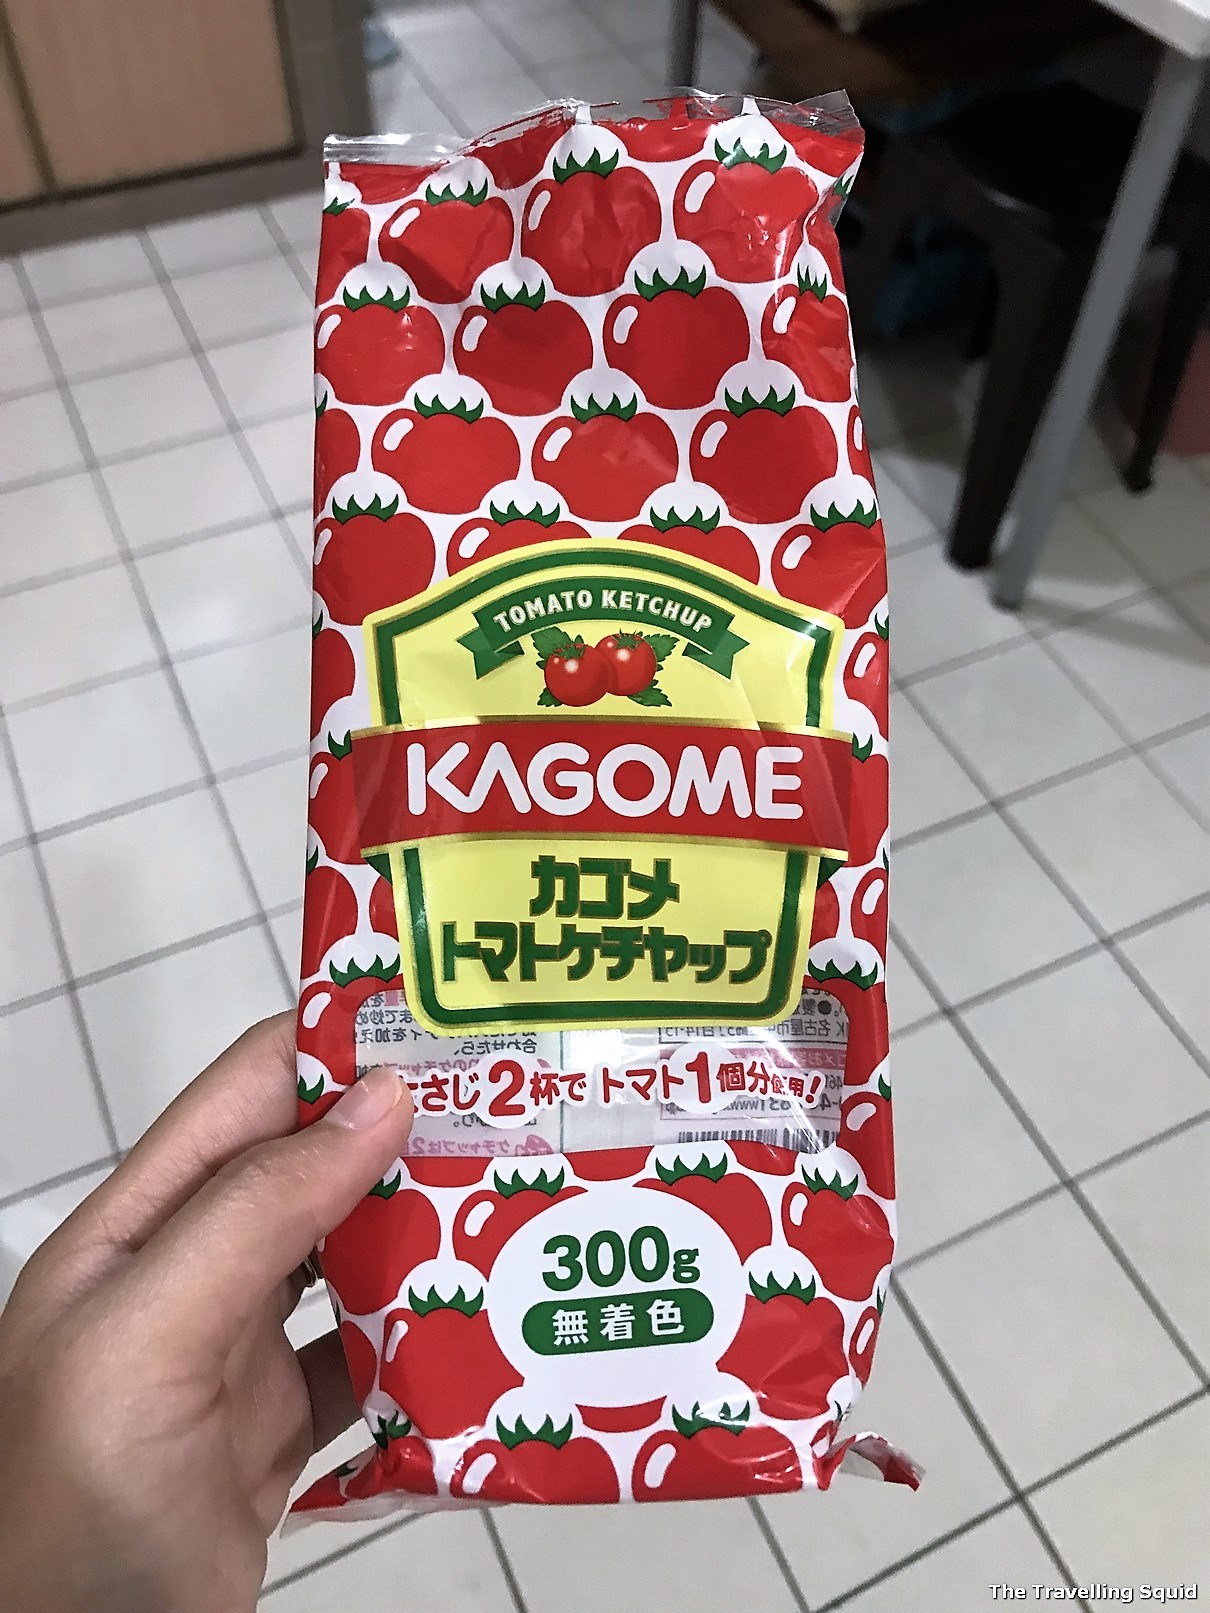
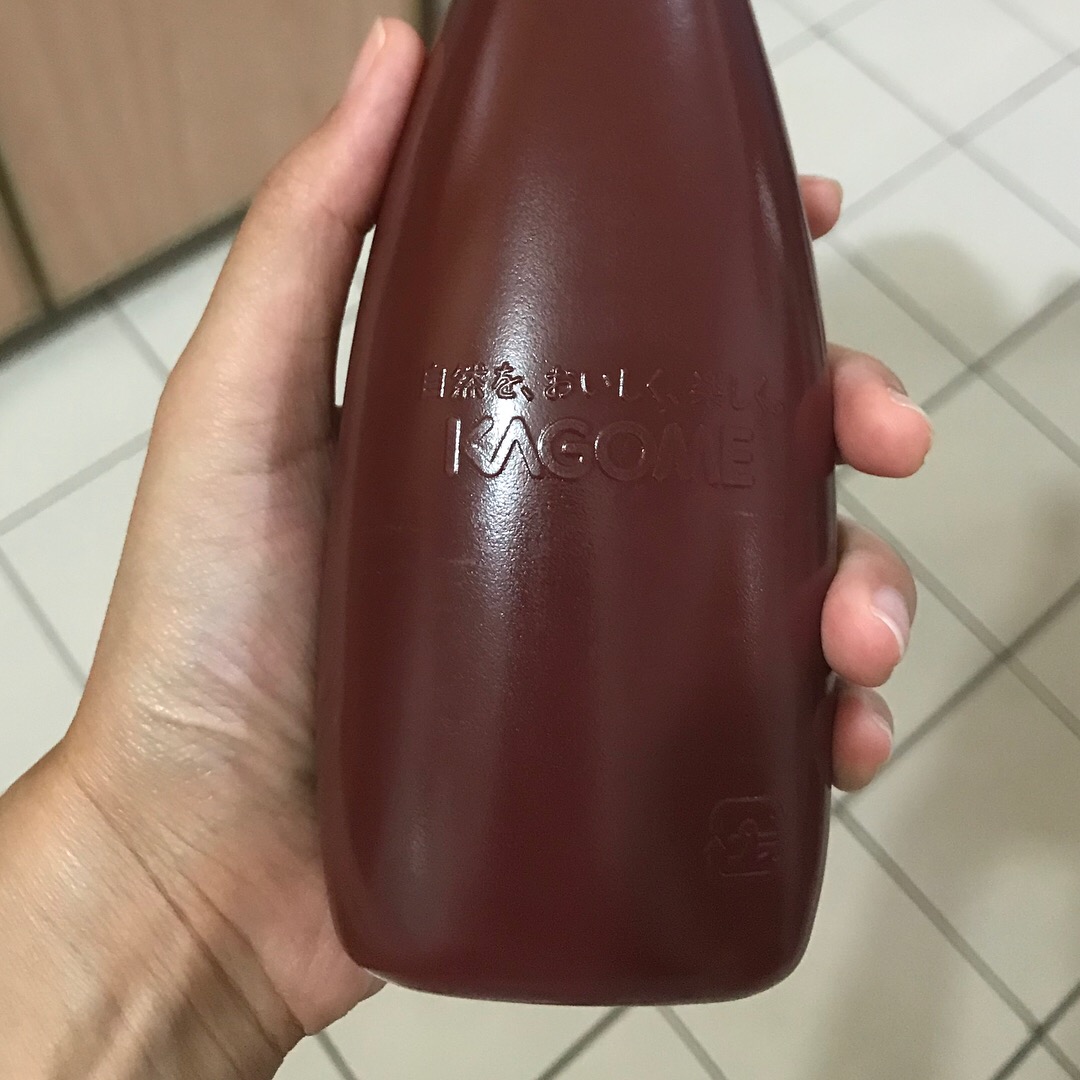
I also bought a fancy Japanese Kagome ketchup for SGD3.80 (which was double the price of Maggi ketchup). The verdict? The ketchup from Kagome didn’t taste that different from Maggi. 🙁 Here is the Okonomiyaki ingredient list – we didn’t have to buy all of the ingredients as we had some of them at home.
Ingredient list
- 1 cup all-purpose flour (1 cup = 120 g)
- ¼ tsp kosher salt
- ¼ tsp sugar
- ¼ tsp baking powder
- 2-3 inch Nagaimo (2-3″ = 5-8 cm)
- ¾ cup dashi (¾ cup = 180 ml) (we used the pre-made dashi sachet)
- 1 large cabbage head (1.6 lb = 740 g) (mince up the cabbage leaves)
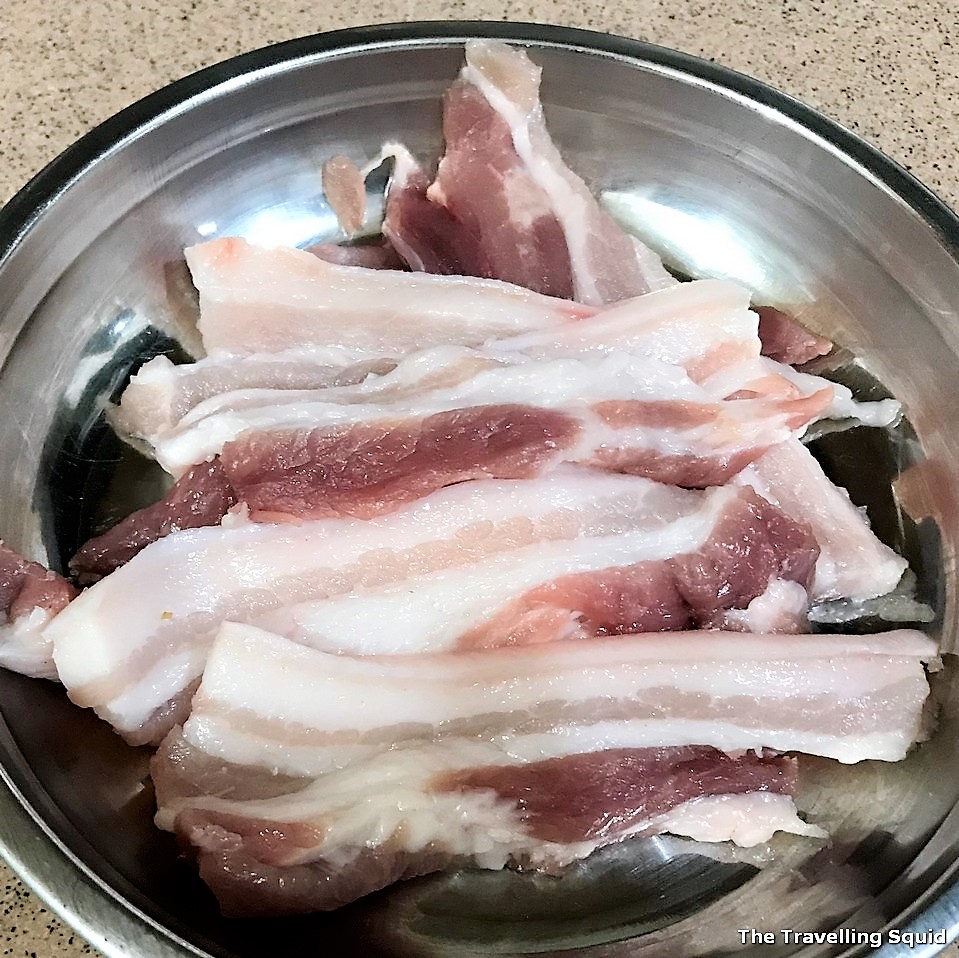
- ½ lb sliced pork belly (1/2 lb = 227 g) (you can buy pork belly and slice it on your own)
- 4 large eggs
- ½ cup Tenkasu/Agedama (tempura scraps) (1/2 cup = 8 Tbsp) (we left this out for this recipe)
- ¼ cup pickled red ginger (1/4 cup = 4 Tbsp) (we left this out for this recipe)
- neutral flavor oil (vegetable, canola, etc)
- [You can also choose to add additional seafood such as prawns and squid to the mix.]
- Okonomiyaki Sauce
- 1½ Tbsp sugar
- 2 Tbsp oyster sauce
- 4 Tbsp ketchup
- 3½ Tbsp Worcestershire sauce
- Toppings
- Okonomiyaki sauce
- Japanese mayonnaise (Recommended brand – Kewpie)
- Katsuobushi (dried bonito flakes)
- Aonori (dried green seaweed) (left this out)
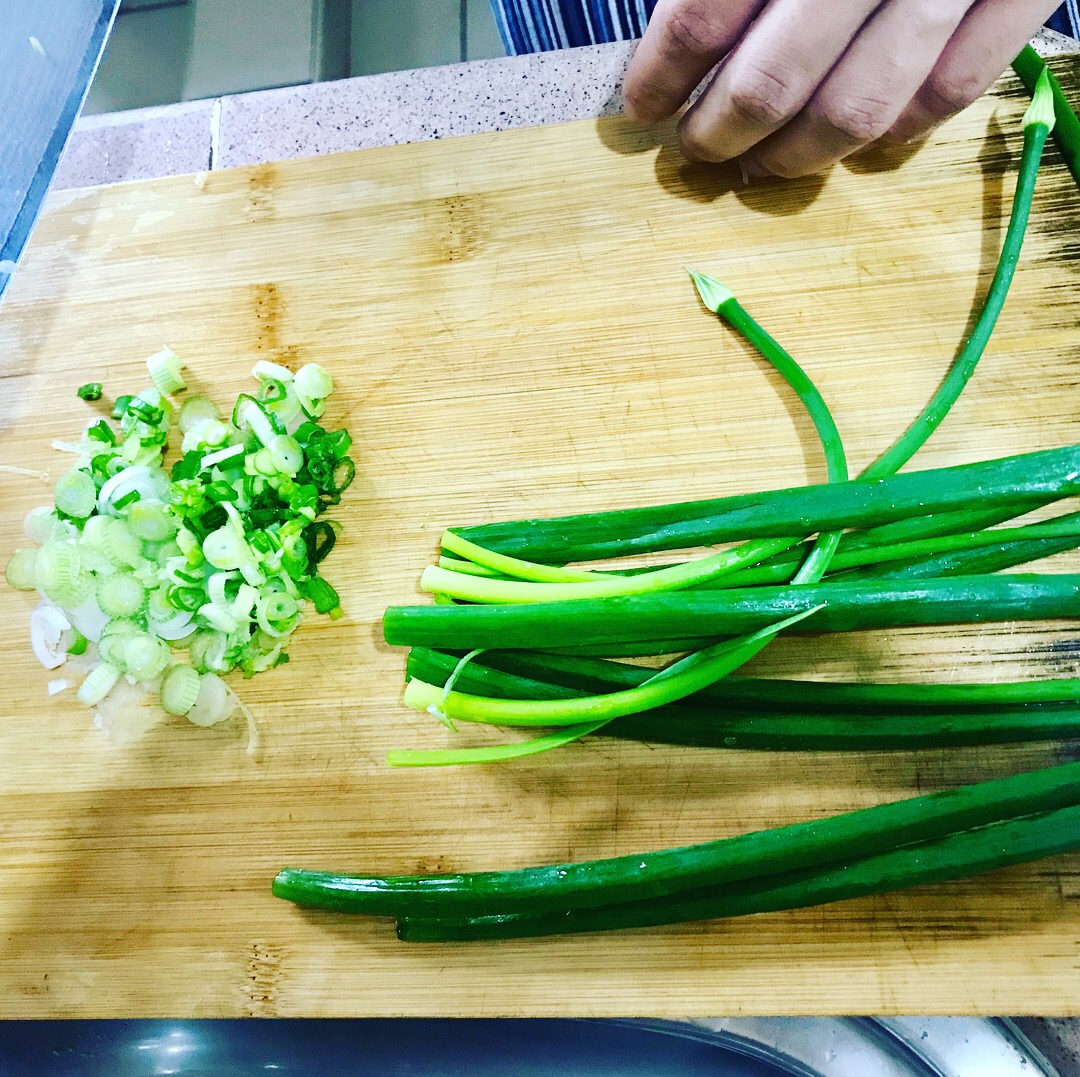
- Green onions/scallions (I bought spring onions instead)
6 simple steps to make Okonomiyaki at home
1. Mix the batter and let it rest in the refrigerator for an hour
Ingredients required: nagaimo, all-purpose flour, baking powder, salt, sugar and baking powder
- About 1 hour before cooking, mix the all-purpose flour, baking powder, salt, sugar and baking powder together.
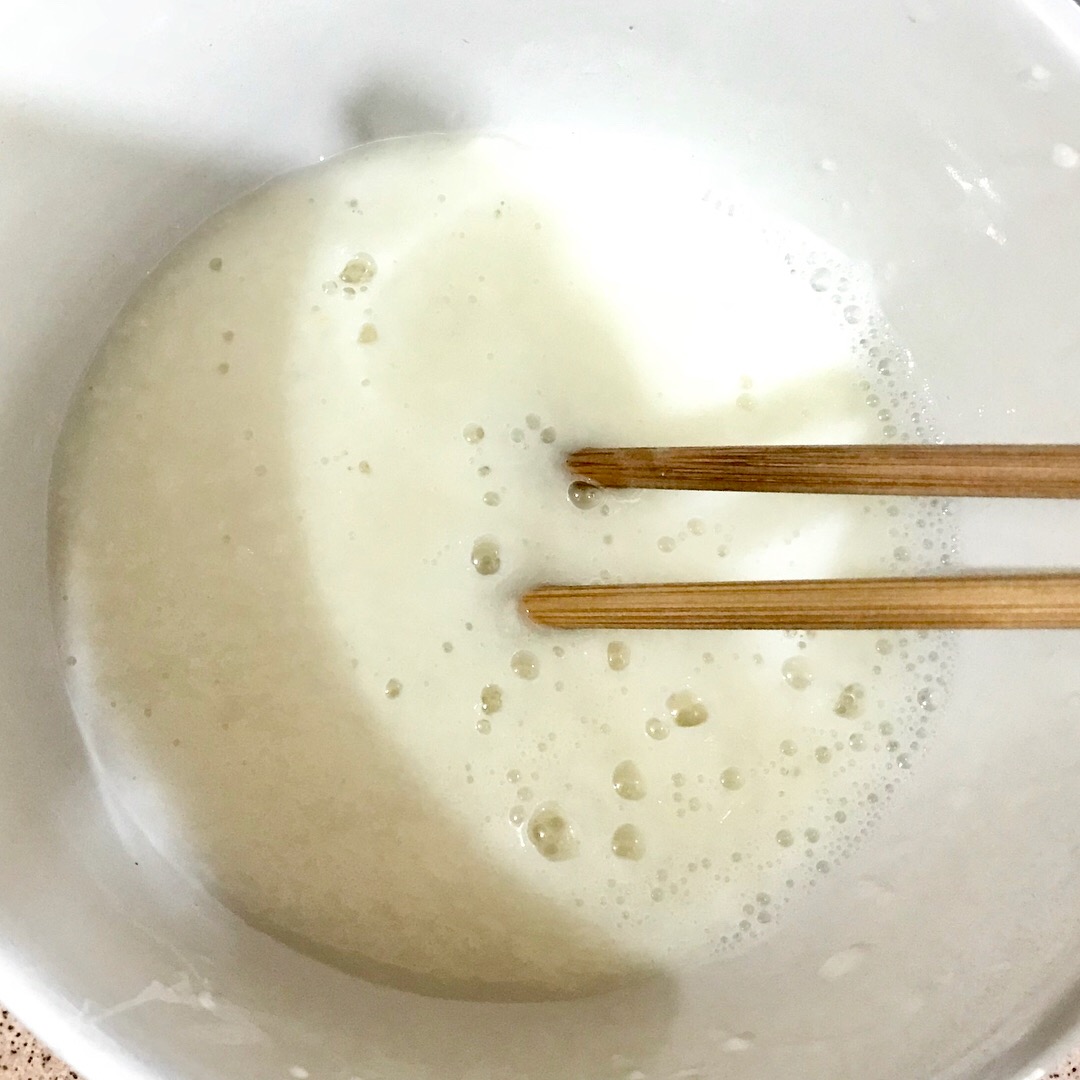
- Peel the nagaimo and finely grate it till it’s in a white foamy form (see picture above). The paste is a little slimy, and can cause skin irritation to some. So use a pair of gloves if need be and avoid touching other parts of your body, especially your eyes. The grating adds air into the mixture, which helps the pancake stay fluffy later on.
- Mixed the nagaimo in with the rest of the dry ingredients well. Cover the bowl with cling wrap and let it sit in the refrigerator for an hour or more.

2. Prepare the Okonomiyaki sauce
Ingredients required: sugar, oyster sauce, ketchup and Worcestershire sauce
In a small sauce pan, add the sauces together. Place the pan over low heat and slowly adjust the sweet, acidic and savory flavours. For the best results, adjust the flavours one at a time. For acidity, we added a dash of apple cider too.
3. Prepare the rest of the ingredients
Ingredients required: cabbage, pork belly, scallions, (preparation of other seafood)
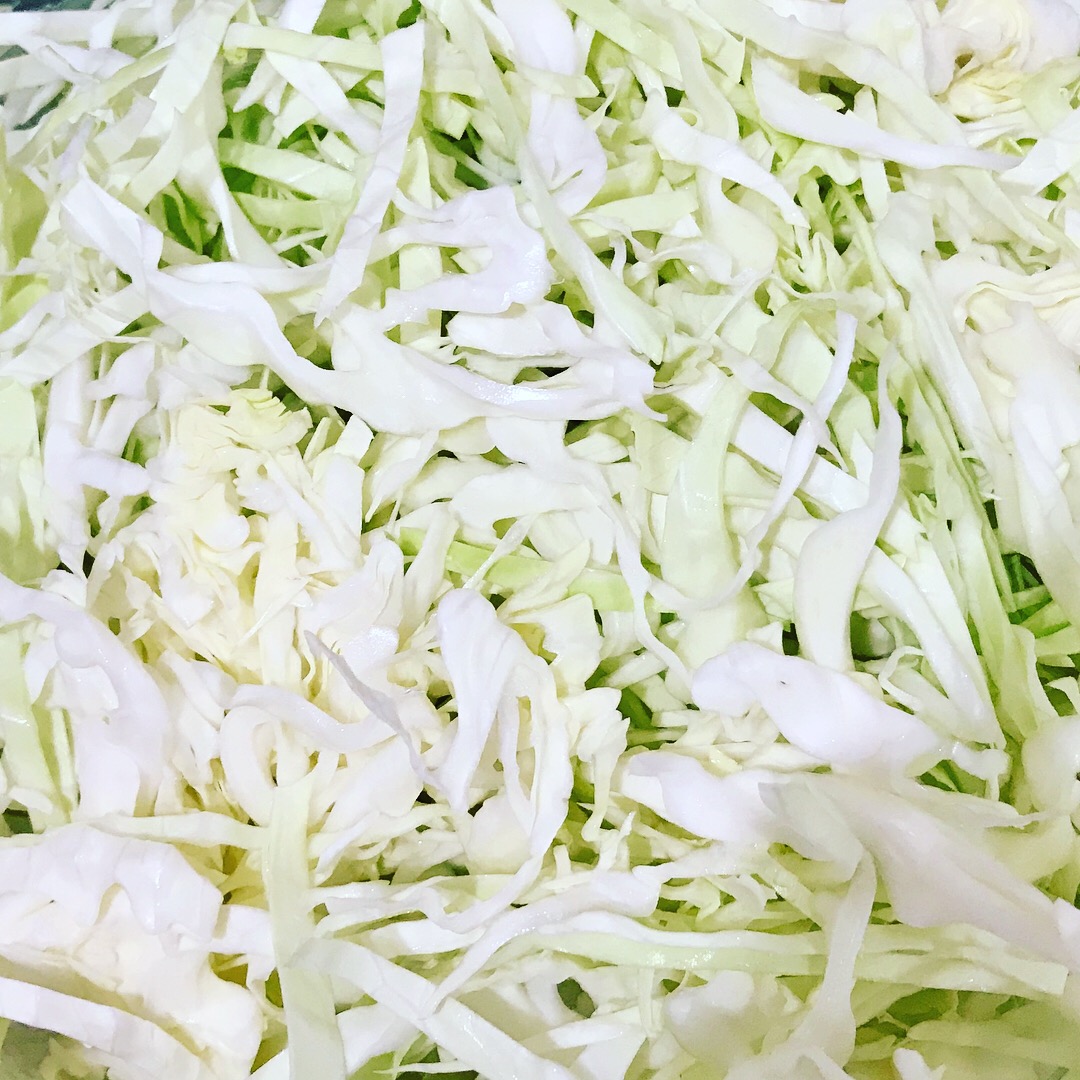
The next step is relatively straightforward. Simply dice up the cabbage (try to mince it up – it makes combining it with the batter easier later on.) Slice the pork belly up. We prepared some prawns for adding on top of the batter too. Prepare the scallions for garnishing later on. You can add in the white part of the spring onion into the batter for better flavour.
By the way, the Japanese cabbage taste sweet and crunchy when it’s raw, which makes it a great side for a Tonkatsu meal.
4. Mixing the batter with the cabbage.
Ingredients required: Refrigerated batter, eggs and cabbage
- Take the batter out from the refrigerator and crack the four large eggs into it. With a whisk, mix the batter and egg until it is well combined.
- Mix the batter and the cabbage until the mixture is uniformed. This was quite a challenging step as we were faced with lots of cabbage at the start and very little batter.
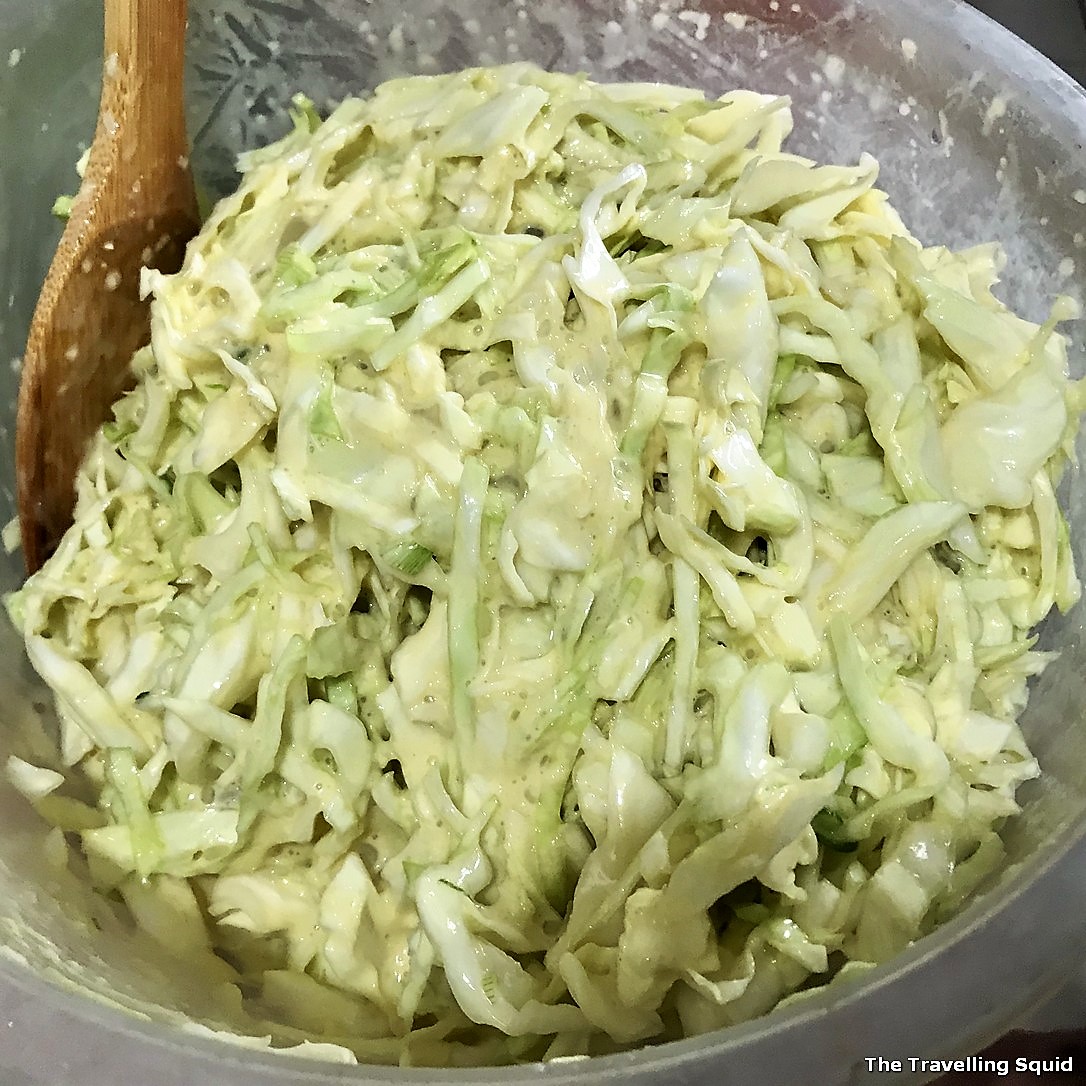
By the time we were done with the cabbage, there was so much of it and we had some difficulty mixing the batter in. Concerned that there was too much cabbage and too little batter, we made a tiny bit more batter to add in. In retrospect, we didn’t have to as the cabbage started giving off some water, making the batter a lot more liquid. Looking back, we should have mince the cabbage into small pieces, instead of just slicing it. Doing so reduces the air spaces between the leaves, making it easy for the batter to be mixed in. It releases more water from the cabbage too.)
5. Cooking
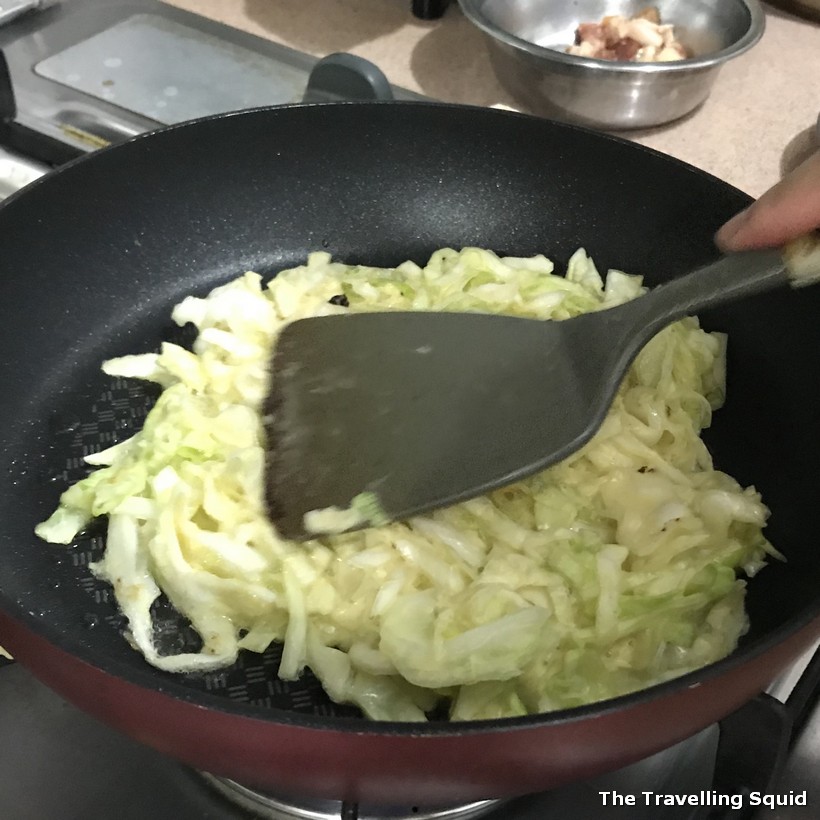
The cooking process is perhaps the most challenging of all. First heat up the pan till medium heat and place the pancake batter in a circular shape on the pan. Wait for the batter to set. Add the pork belly and seafood (if any) on top of the pancake.

Lower the heat. Then add a thin layer of water to the base of the pan. This is not in the original recipe, but it is useful in preventing the bottom of the pancake from getting burnt. This is similar to how the Chinese dish of ‘Guo Tie’ (steamed-fried dumplings) is cooked.
After adding the water, cover the pan and let it cook for about five minutes. If it’s your first pancake, check in from time to time as it varies with different pans and consistency of the pancake. After five minutes, flip the pancake the other side. The meat now faces the bottom of the ban. Wait for about 5 – 7 minutes more and then flip it onto a serving plate.
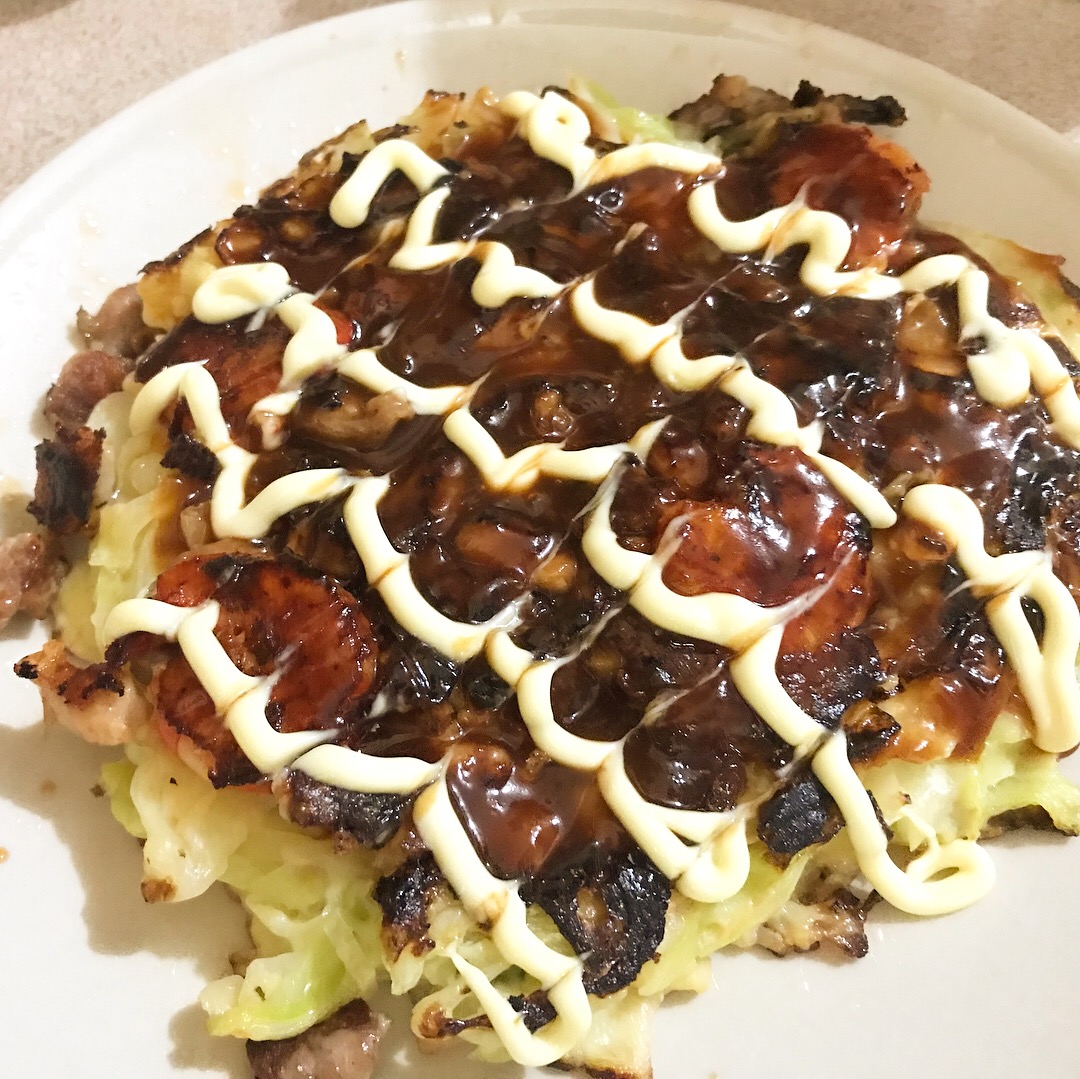
6. Add the toppings
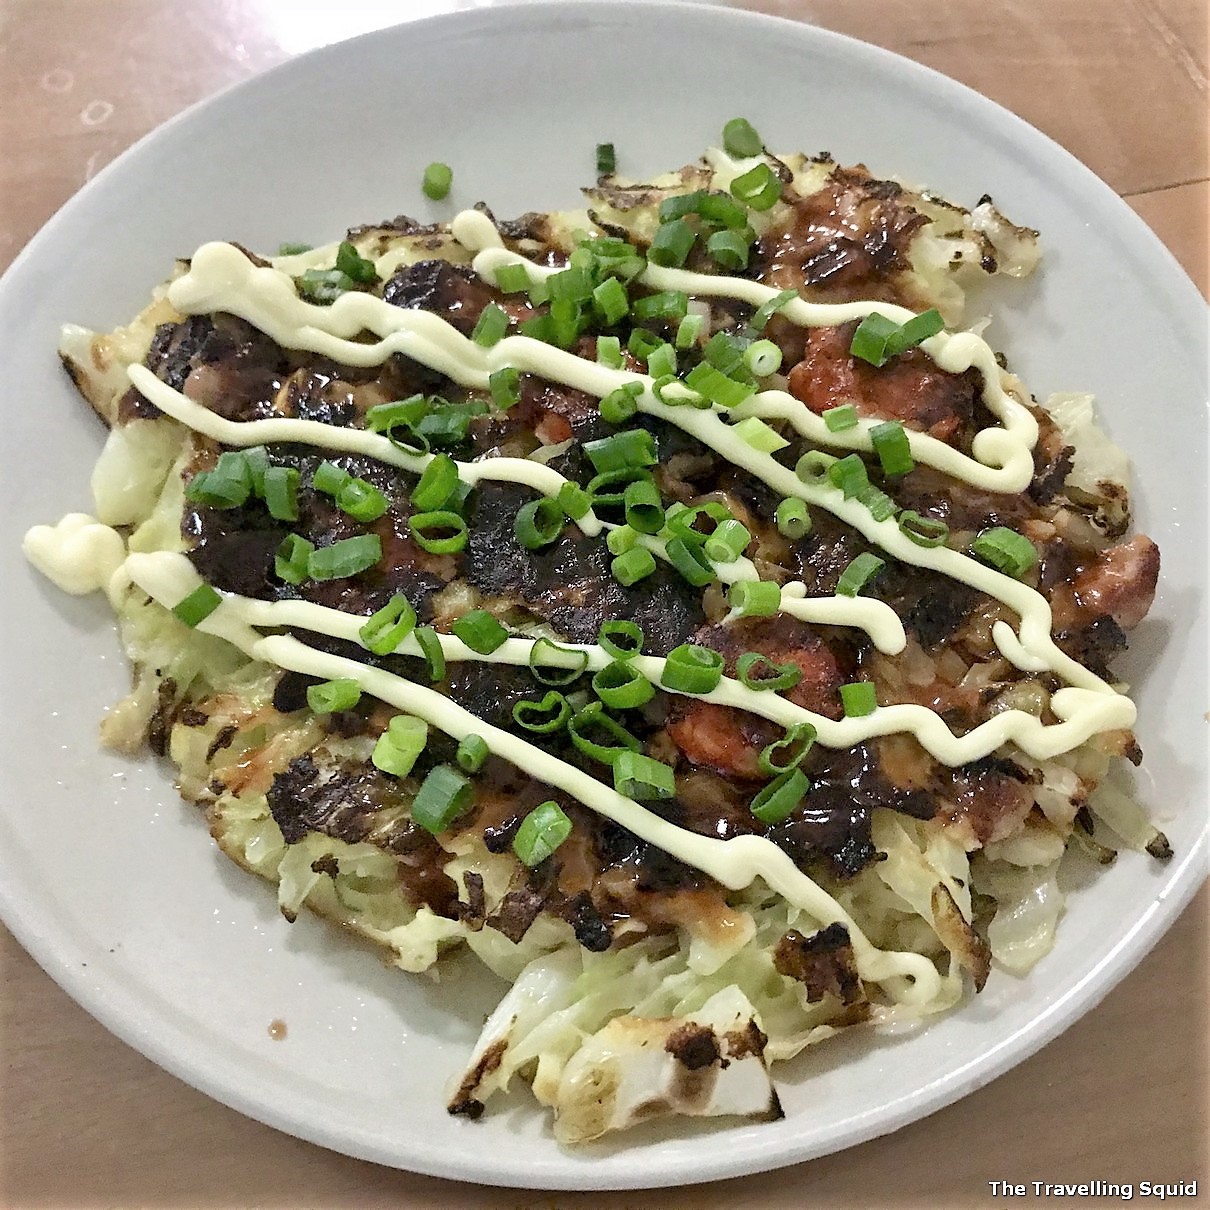
Add the Okonomiyaki Sauce first, by spreading a layer on the pancake. You can then opt to do various patterns with the mayonnaise with a tooth pick for instance. Remember to add the spring onions and bonito flakes when you’re done, and the Okonomiyaki is ready to be served.
As the cooking process of each of the pancakes took close to 15 minutes, they couldn’t be served at once or they would have gone cold. The ingredients also allowed for 4 pancakes instead of two, hence we spent close to an hour cooking. What could have helped was to cook the pancakes concurrently, if we had two non-stick pans.
The Travelling Squid’s Take
Cooking Okonomiyaki at home is largely about the experience. A quick check on Google revealed several Okonomiyaki restaurants which were selling Okonomiyaki at about SGD15++ per pancake. In terms of price, we saved a little bit of money by making it on our own, but the time and effort which went into producing this dish was immense. It took us about 4 hours (including eating as we cooked and ate in four consecutive sessions.)
Would we do this again? Well, perhaps in a very, very long while later. Cooking this was physically tiring, but yet I’m glad it did deepen our understand of Japanese food a little. The fact that we could make Okonomiyaki at home-made this dish more accessible and in a way, a little more delicious and memorable.
Leave a Reply